k is LP’s own unit of resolution. It means the number of dots or pixels per 100mm in 1000s. It can be converted to other common units of resolution like px/mm or DPI.
You may ask, why use 100mm as the unit length instead of mm or inch?
It’s because 100mm has been the maximum engraving width and height of LP1, Pro and LP2. It’s intuitive (at least to LP developers) to express the engraving resolution using the number of dots/pixels that can fit into this 100mm range.
LP1/Pro
1k (only) = 1000px/100mm = 10px/mm = 254dpi
LP1z Pro (Upgraded, 2023 and later)/LP2
1k = 1000px/100mm = 10px/mm = 254dpi1.3k = 1300px/100mm = 13px/mm = 330dpi2k = 2000px/100mm = 20px/mm = 508dpi
LP3
1k = 1000px/100mm = 10px/mm = 254dpi2k = 2000px/100mm = 20px/mm = 508dpi4k = 4000px/100mm = 40px/mm = 1016dpi
LP4
1k = 1000px/100mm = 10px/mm = 254dpi2k = 2000px/100mm = 20px/mm = 508dpi4k = 4000px/100mm = 40px/mm = 1016dpi8k = 8000px/100mm = 80px/mm = 2032dpi
Question: What DPI do I use when I create or export my own image?
Answer: Forget about DPI. Only the number of pixels matters when you work on your image.
DPI is a standard unit for resolution, commonly used in printing and monitors. i.e. you feed 300 black pixels in a row into a printer or a monitor and specify 300dpi, then you get a 1-inch long black line printed on paper or displayed on a screen. All of these make sense because the device accepts DPI as a parameter AND the output size is determined by the number of pixels and DPI setting.
Now let’s look at how the LP app and resolution setting work differently. Firstly, it does not take DPI, but k as a parameter. You have seen the conversions above. Basically, this means instead of freely setting a DPI value, you are limited to one of the resolutions supported by your LP engraver.
Secondly, after selecting a resolution, you then set the output size. At this point, the app works out how many pixels are needed to cover the output size you just specified. For example, you select 2k and 50mm x 20mm engraving size. We know 2k means 20px/mm. So the app will have to produce an 1000px x 400px image for engraving.
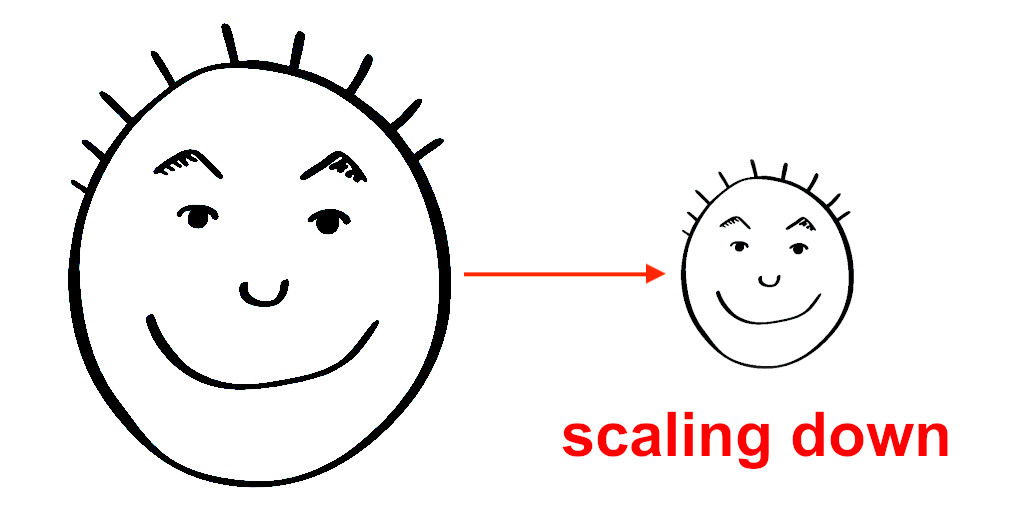
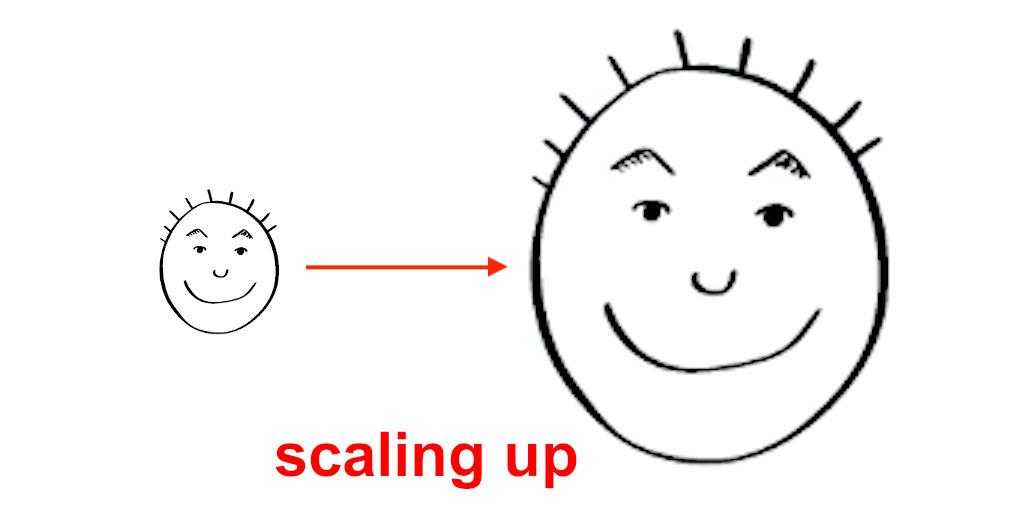
Now, if your original image is rather big in terms of pixels, let’s say, 2000px x 800px, it gets scaled down to 1000px x 400px, which is often not an issue in terms of image quality. The issue arises when your source image is rather small, say, 200px x 80px. The app has to scale it up 25 times, which will make the edges/lines become blurry. In Bin mode, it will become zigzagged/pixelated.


The takeaway for you is that, you need to estimate what size and resolution you are going to engrave in, which does not have to be accurate, and make your image equal to or larger than the required size, in order to avoid getting it scaled up and therefore reduce the image quality.
One more example of image preparation
Say, I want to engrave a tag of 47mm x 22mm, in 1k resolution. So the LP app will need to produce an image of 470px x 220px. I do not have to work out the exact numbers, instead, I just export my design in 500px wide and let the height be auto-calculated for me; or maybe 1000px or 2000px wide to be future-proof, just in case I want to engrave it in a bigger size or in a higher resolution someday.
Recommended read: Resolution, Bleeding and Engraving Quality
Was this helpful?
28 / 2