Thanks to 龍ARON for sharing his simple yet amazing hack. It is possible to both increase the LP1’s cutting power AND improve the resolution to almost match what Pro offers. However, this is not a perfect upgrade to magically convert your L1 to a Pro for a few bucks. The catch is, the engraving area will reduce proportionally and significantly.
What you will need:
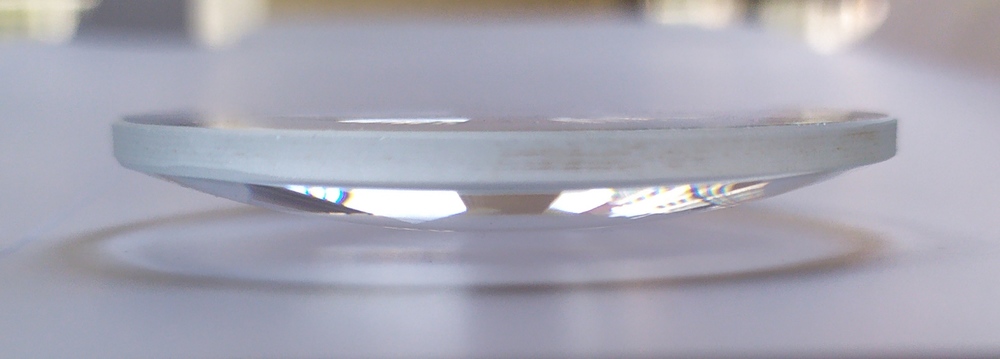
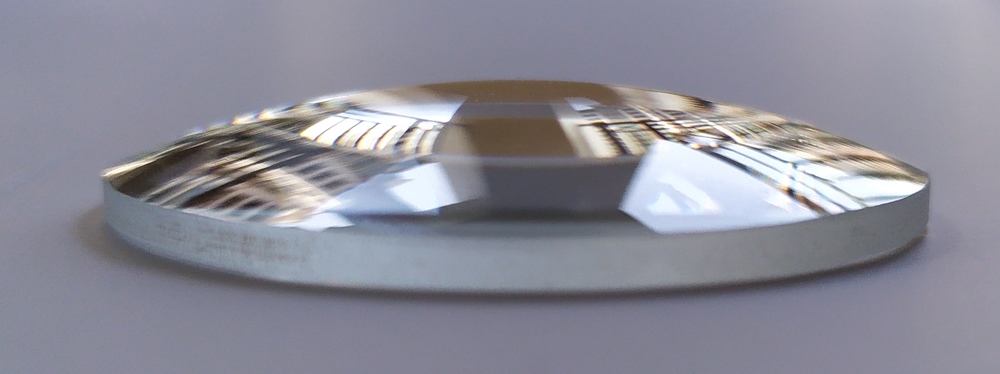
- a magnifying glass: nothing special, maybe 4x to 6x magnification (not too many times, 10x is too much). Maybe you already have one lying somewhere in your house. Its diameter should be no less than 35mm, which will cover the whole of the laser window. 50mm to 60mm diameter is ideal, purely for ease of installation and to avoid using the very edge area. Also, although a double convex lens will do the job perfectly, I recommend getting a glass plano-convex lens (one side is flat) if you are going to buy one for this modification, as it’s easier to fix onto the engraver. It should cost around £2 if you order from Aliexpress.
This is what I used. 50mm diameter, plano-convex lens. I don’t know how many time of magnification it offers, but it works as expected.
- if you have an electric stand, you don’t need anything to secure the magnifier. Read on. If not, get some blue tac, or double-sided tape, or simply some sellotape.
Here’s how to do it:
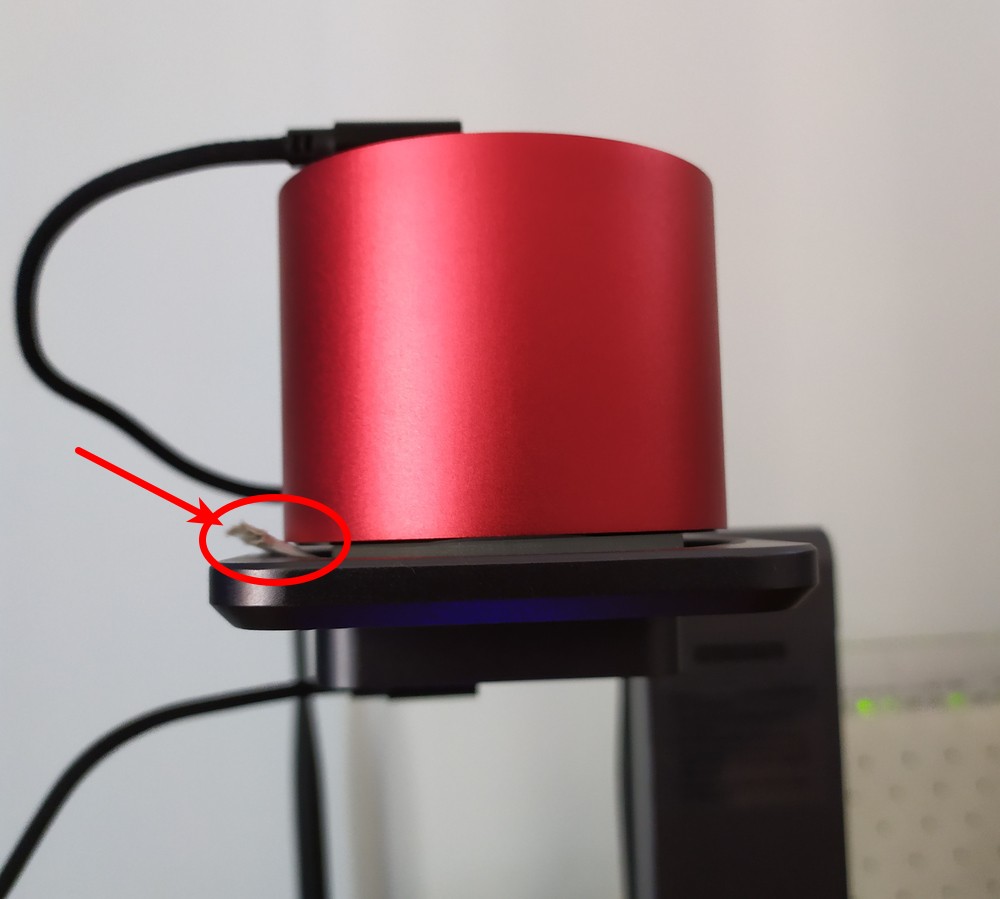
For those who have the electric stand, just place the lens on the stand over the laser window like below. Because the laser comes out from a little right to the centre (see below), you should align the centre of the lens with the laser if possible, to minimise distortion.
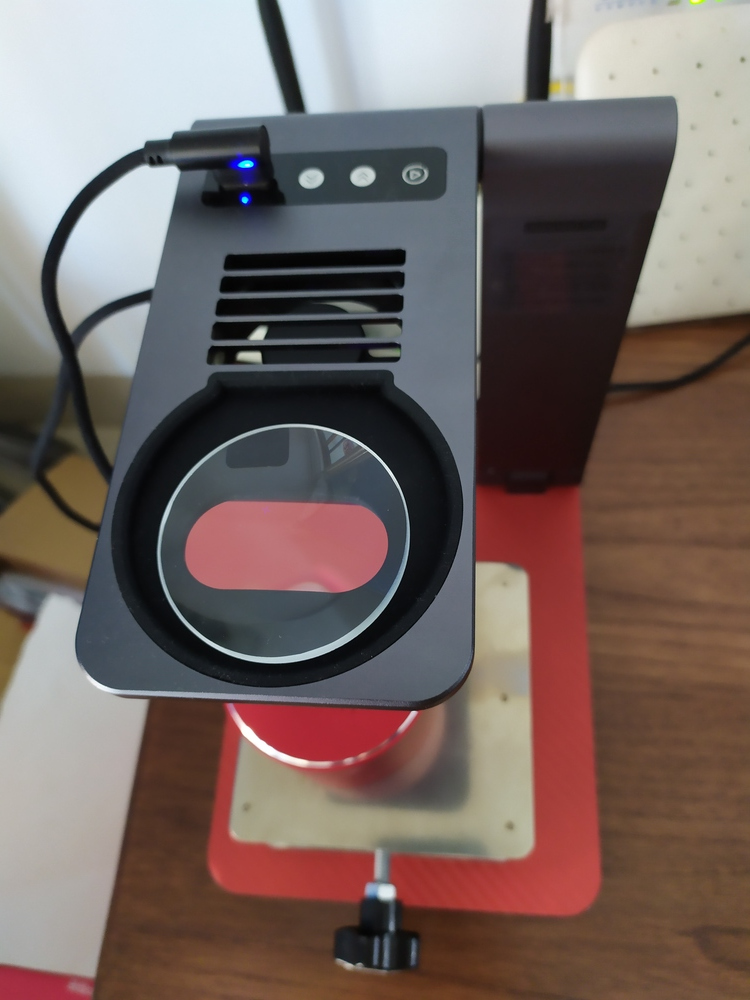
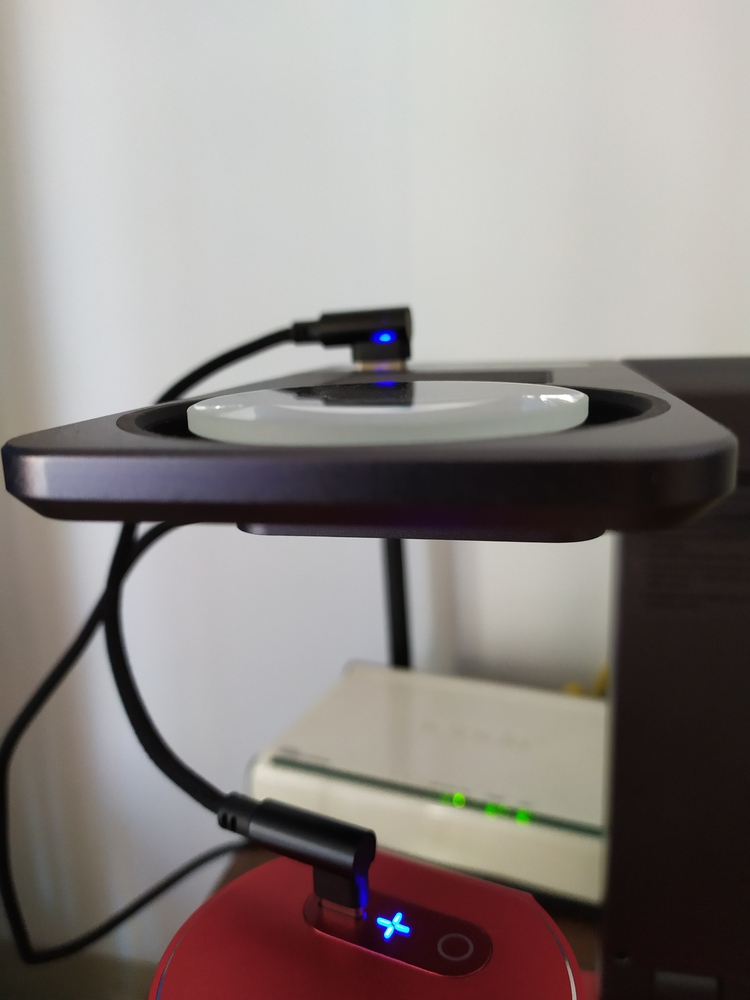
And then, place the engraver over it and keep it upright. You may need to wedge something on the left side to keep it in the correct position.
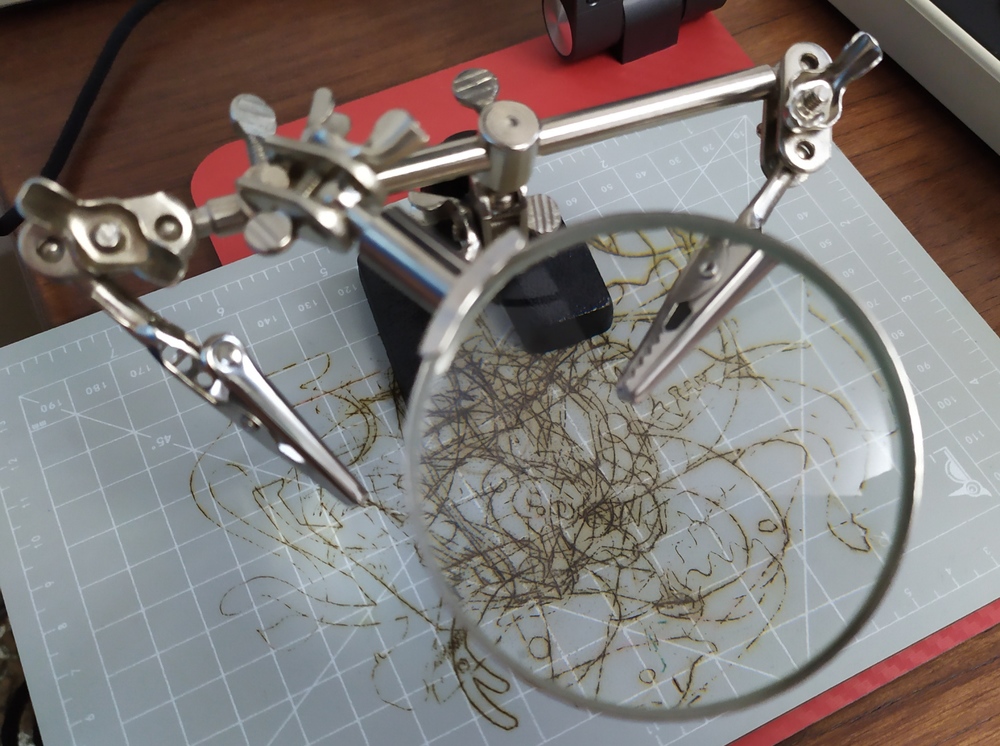
If you do not have the electric stand, just use blue tac or tape to secure the magnifier on the engraver, right in front of the laser window, as close as possible. The example below uses a magnifier from the “helping hands” for soldering. Its size and magnification ratio are perfect for this modification.
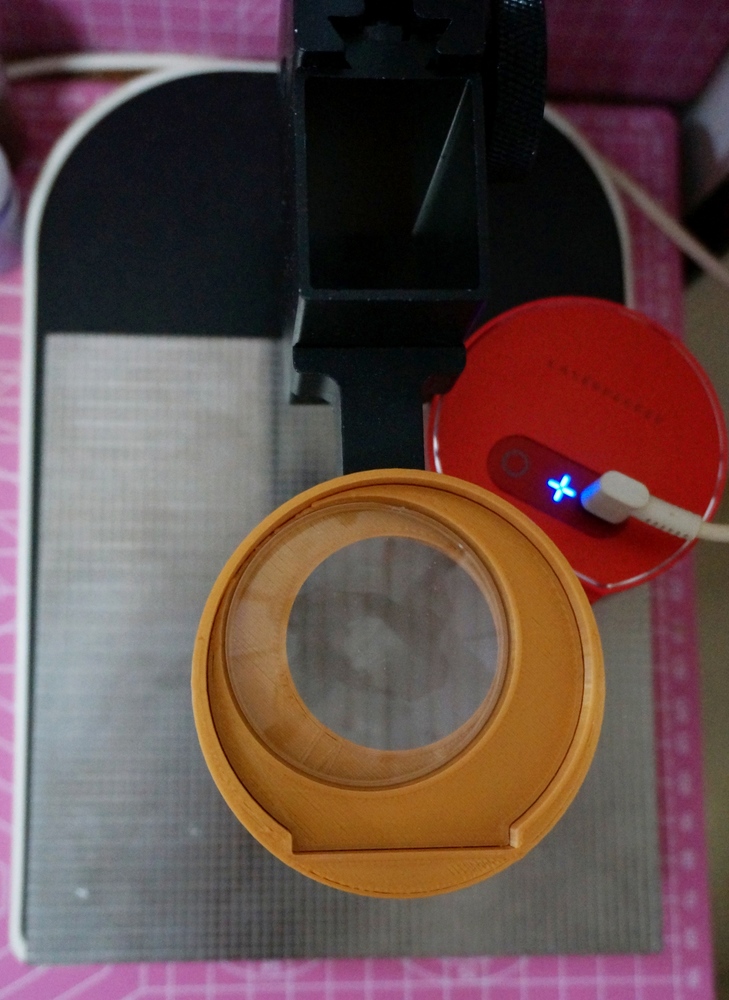
If you have a 3D printer and some modelling skills, you can design your own adapter like what I did. I bought a microscope stand for my L1, which is sturdy and adjustable just in the range I need. Here’s the adapter ring and the lens holder insert. The point is, when I don’t use the magnifier modification, I simply take out the lens insert and place my L1 back in the adapter ring.
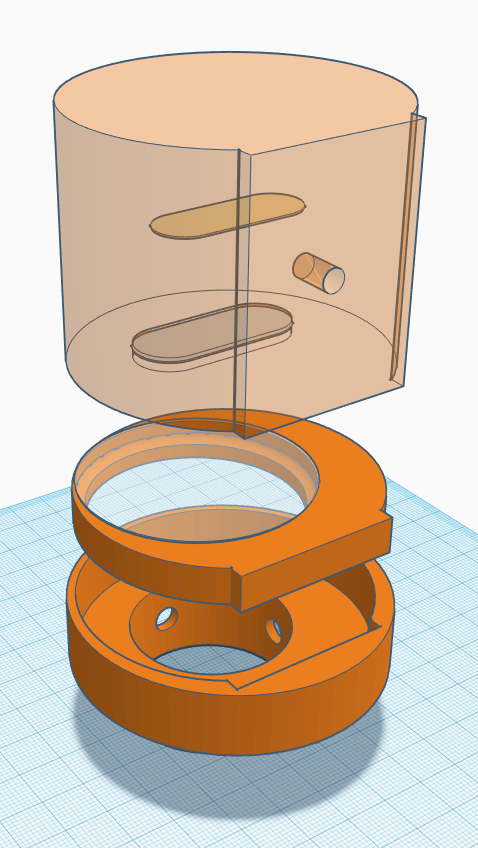
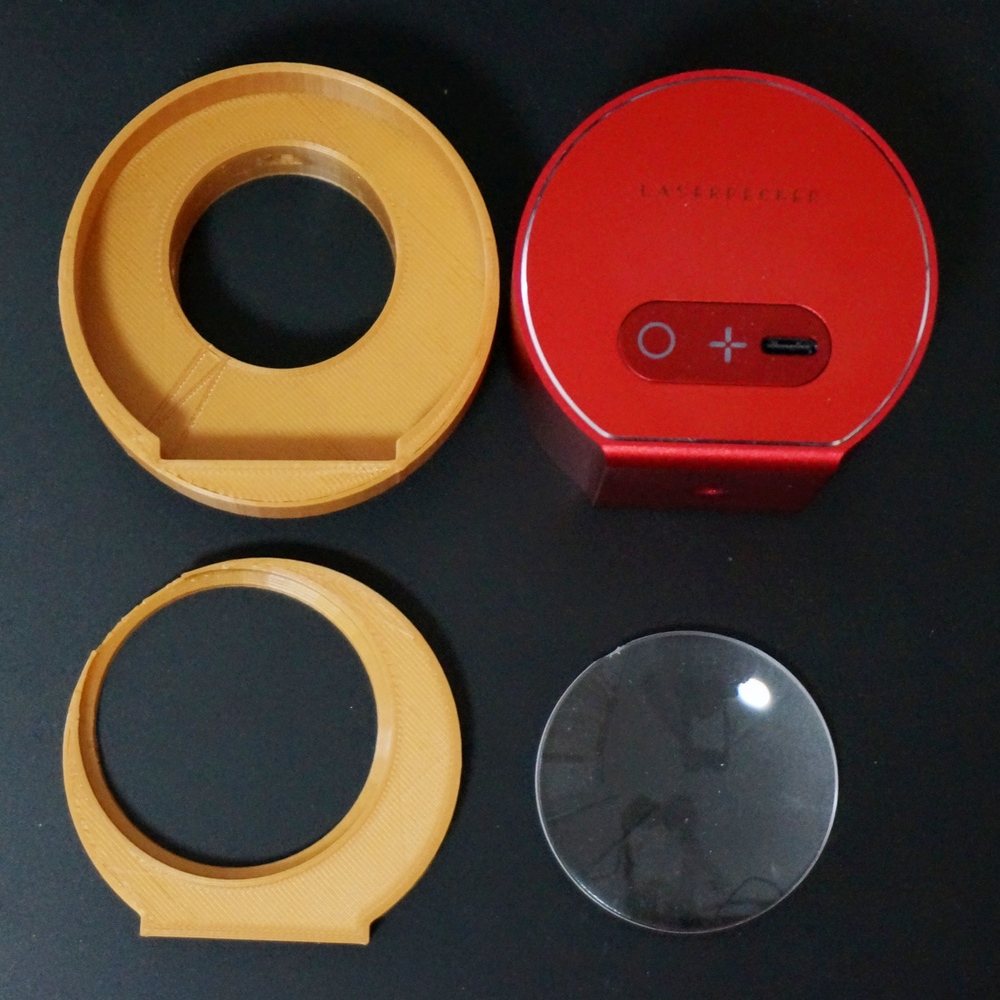
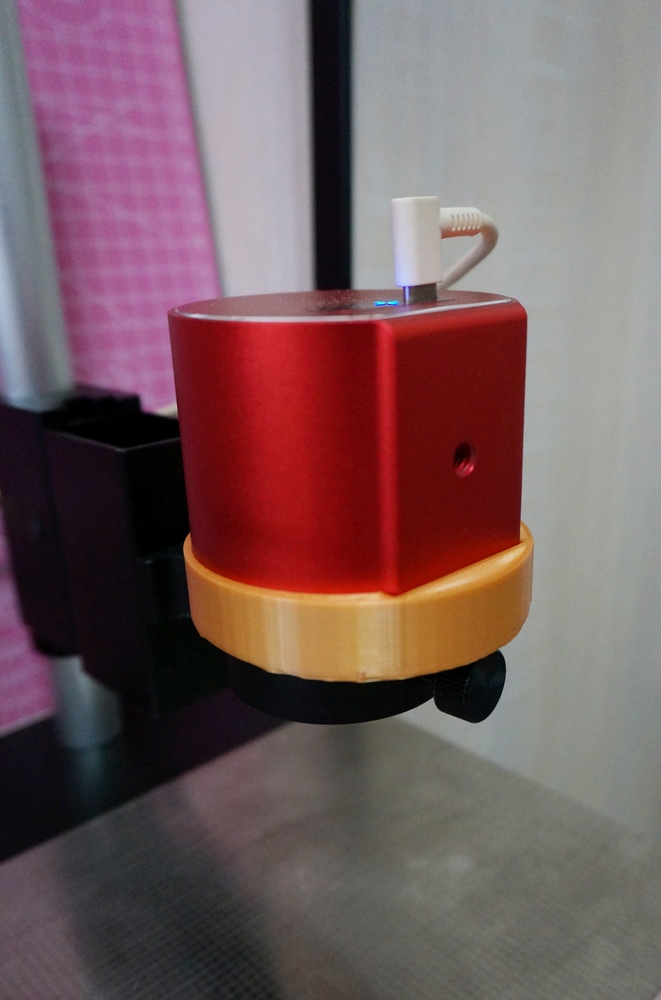
Here are my STL files: (1) L1/Pro 3D model (2) L1 stand adapter (3) L1 stand adapter lens insert
Now, the magnifier will make the optimal focal length much shorter. It all depends on the particular magnifier you use, but it’s really easy to find it.
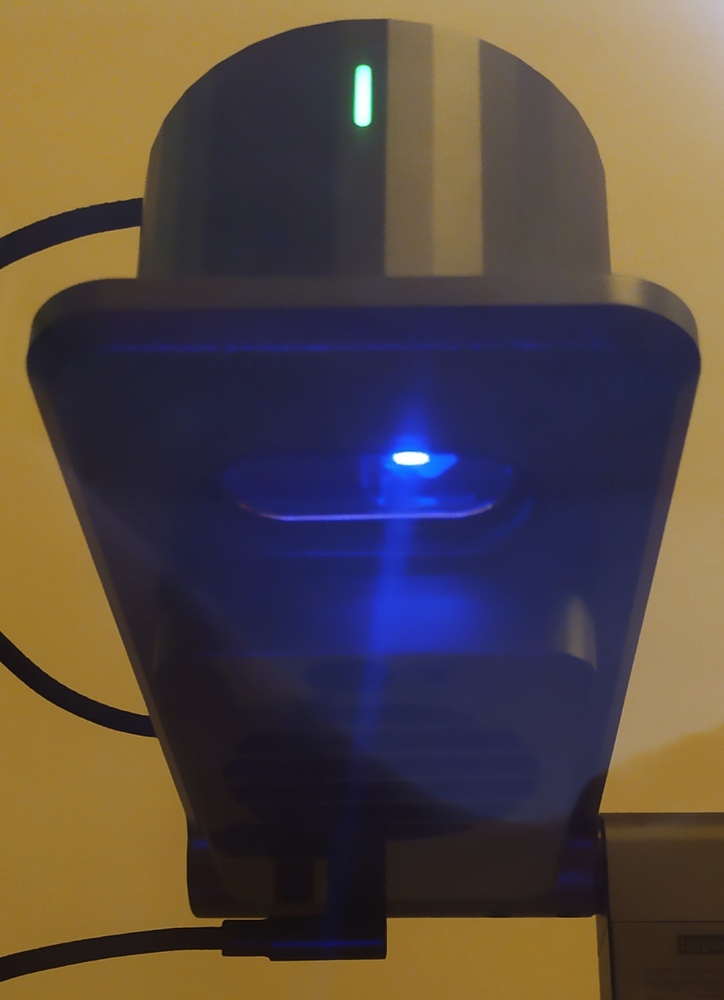
Firstly, in the App, go to laser adjustment options and turn on the laster. It won’t burn anything.
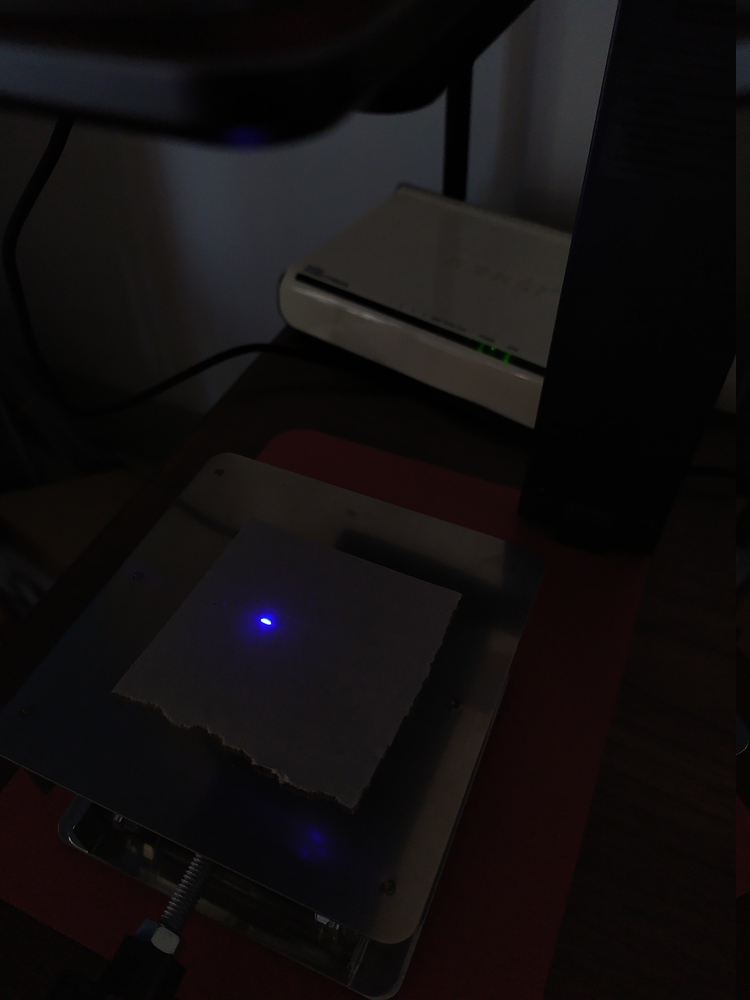
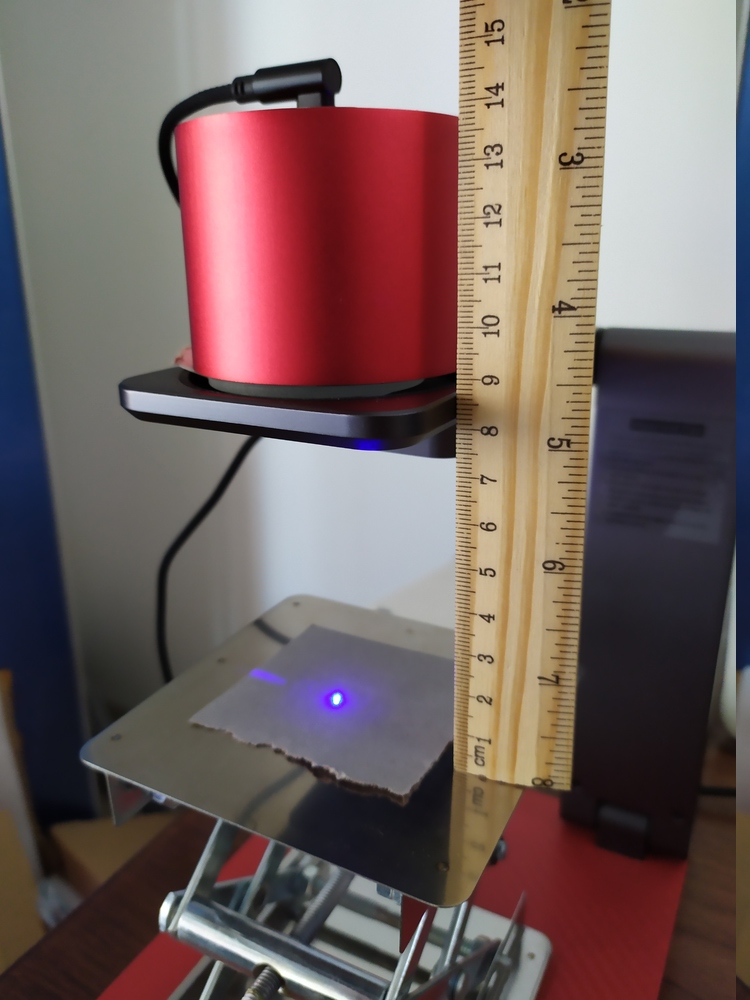
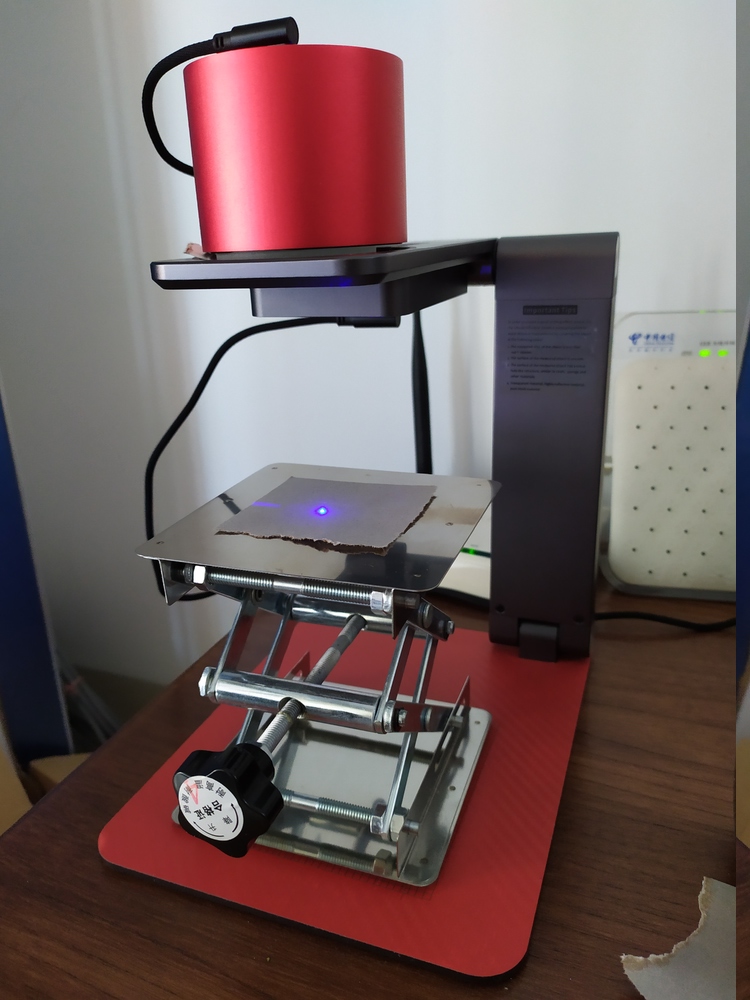
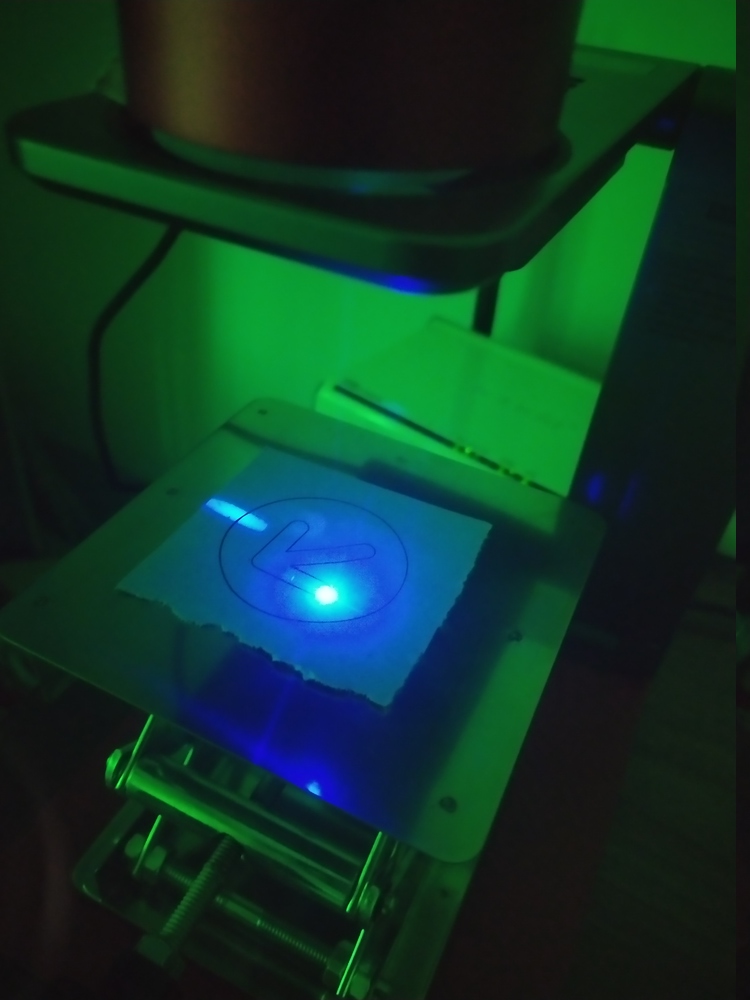
I happen to have an adjustable lab stand that’s perfect for the job. You can just get a piece of paper, and use a stack of objects (books, building blocks, Lego, etc.) to gradually raise the paper towards the engraver while observing the laser dot with your protective goggles on to reduce from a short line to a fine dot. In my case, the new focal length is 9cm.
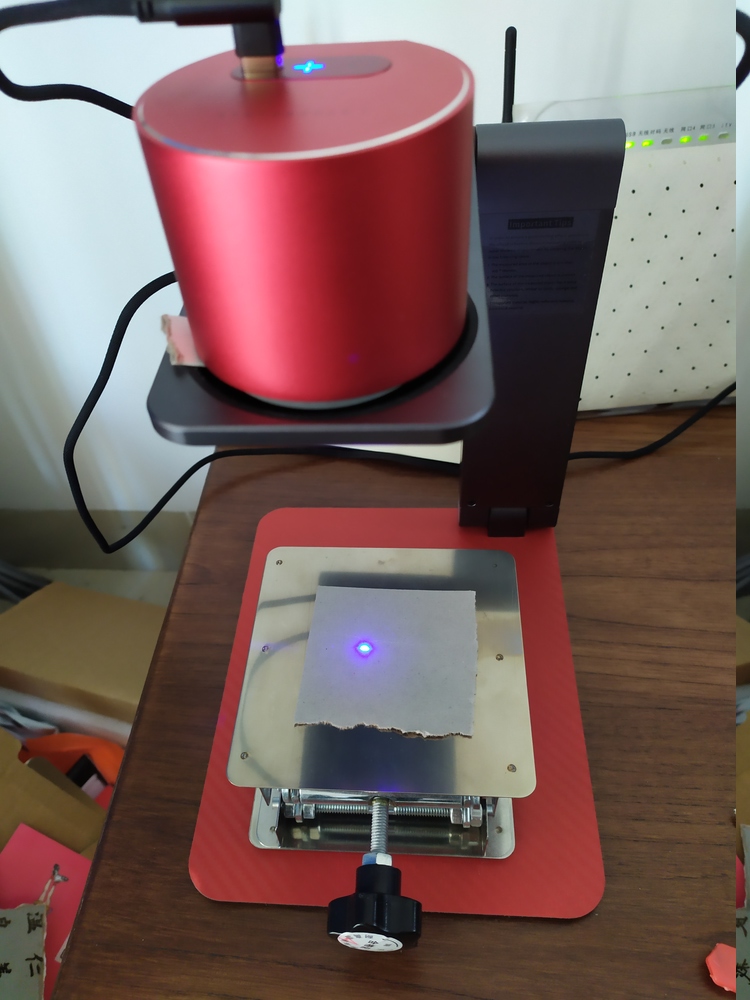
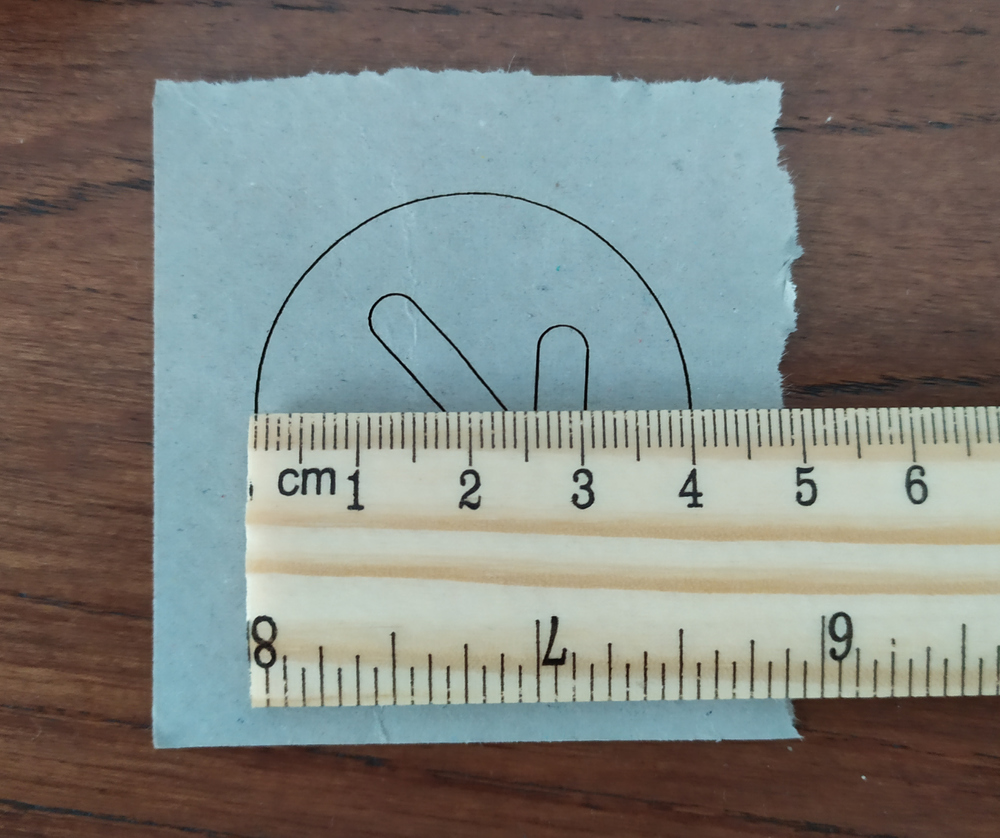
Now, very importantly, exit the laser adjustment mode, and engrave something that’s easy to measure. e.g. a 10cm circle or box. And then measure the output size.
In my case, each axis has reduced to 40% of the output size. i.e. a 100mm circle becomes 40mm. This means the max engraving area is now only 40mm x 40mm. So, if you want to engrave an image of which the longest side is 30mm, you need to set it to 30/0.4=75mm in the App.
Do not get upset yet, here’s what you have gained:
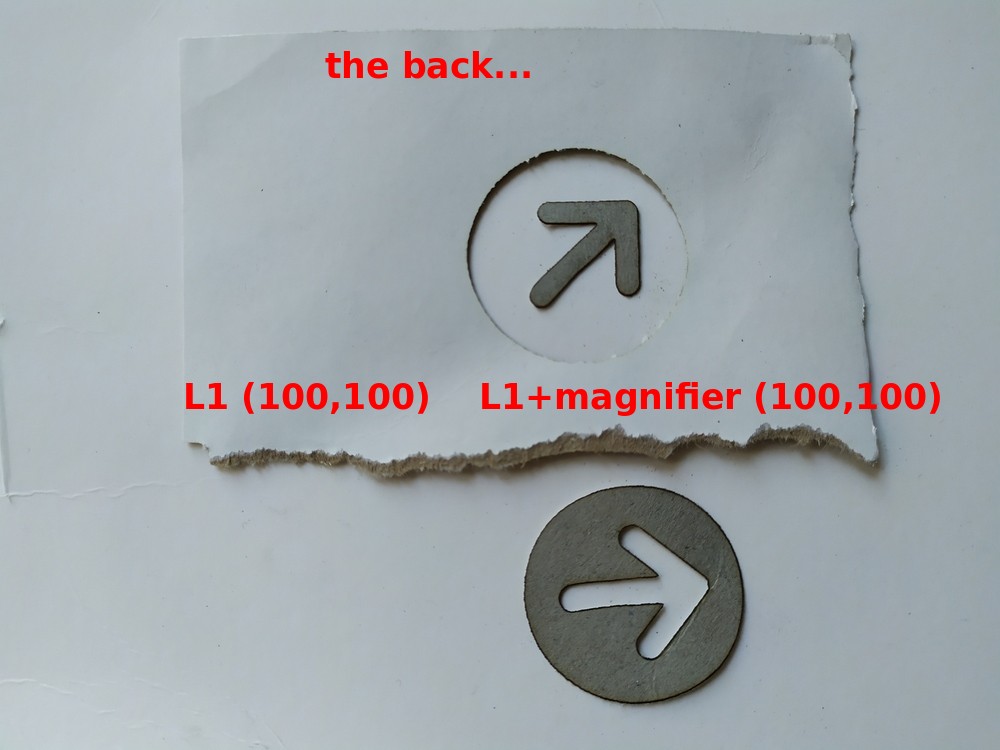
- the laser dot now is much smaller than the original 0.3mm x 0.3mm one, meaning the precision is close to Pro’s 0.15mm x 0.15mm. Read the next section for some exciting comparison!
- because the power is unchanged but the laser dot is now smaller, the relative power over the smaller dot is much higher. Now your L1 can cut through materials that it could not even engrave on! e.g. my L1 with a magnifier was able to cut standard white address sticker labels, which my L1 without the modification could not even leave a mark on it.
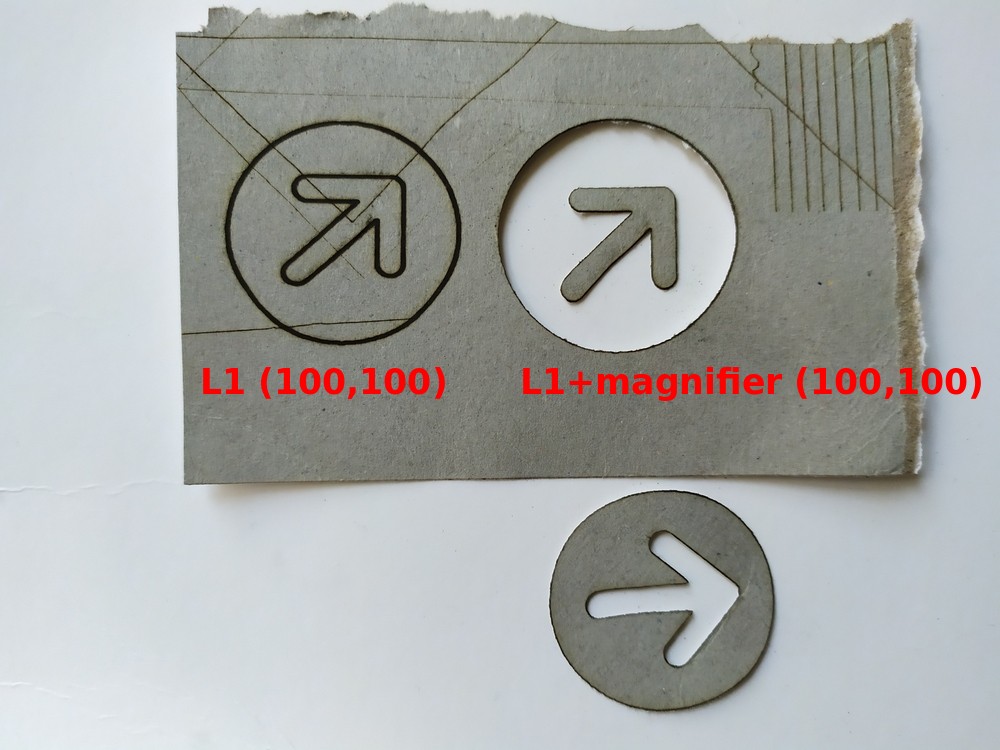
Here’s a test cut on a thick cardboard.
So, with this mod, you don’t really need a Pro to achieve high-precision engraving, if you only need to engrave over small areas 😉
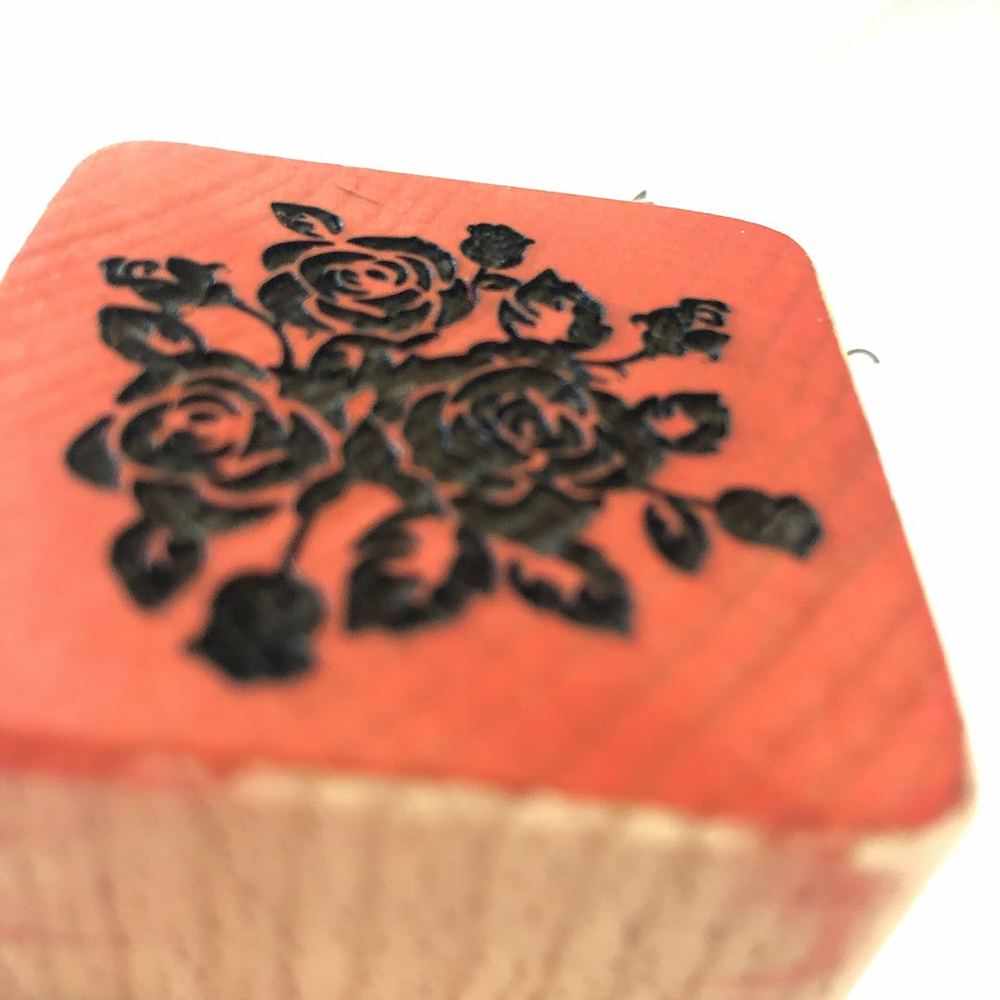
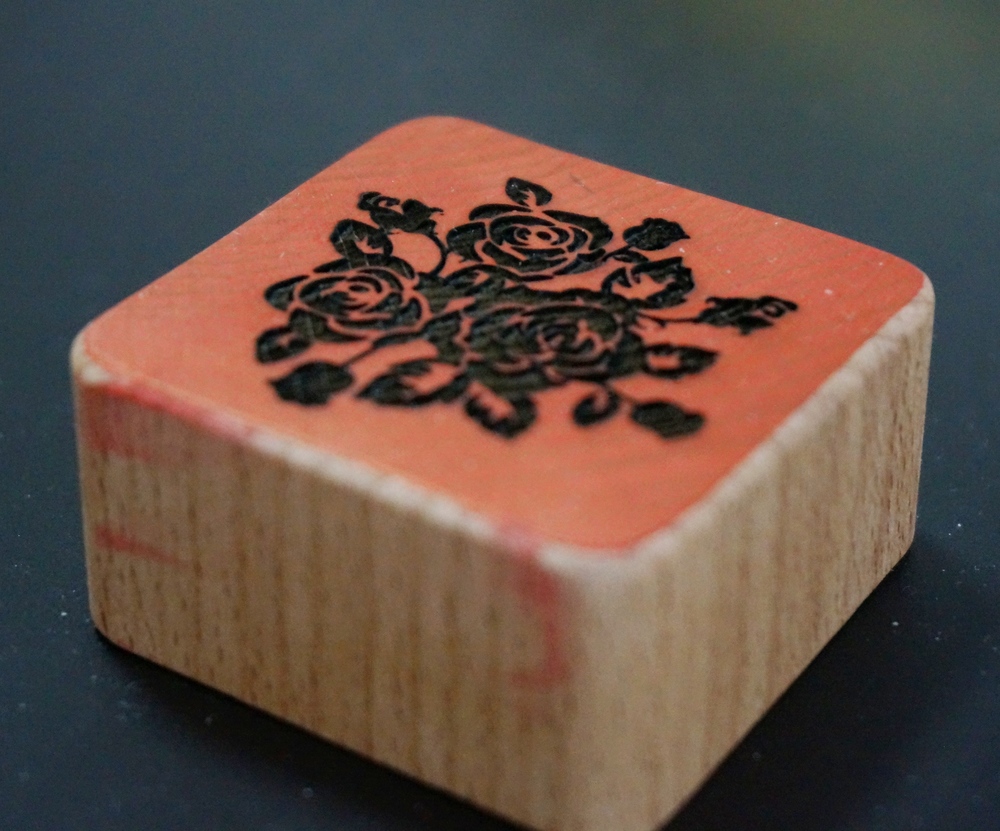
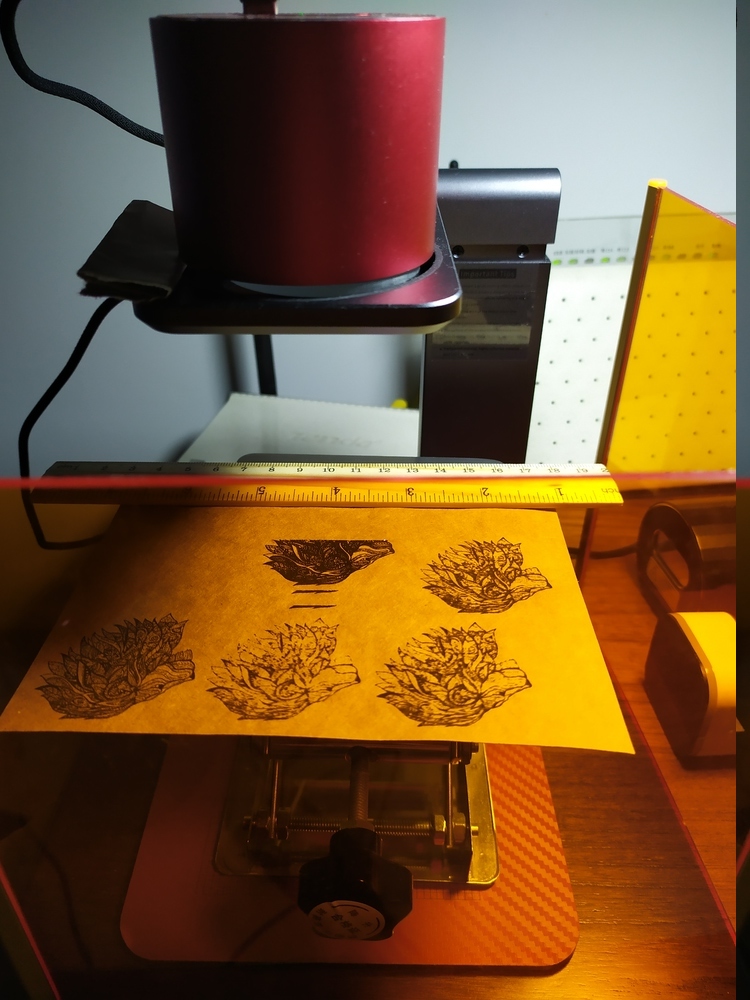
Another test engraving with this modification by 太二真喵, who used (100,100) to engrave on softwood and made a wooden stamp.
Precision Test
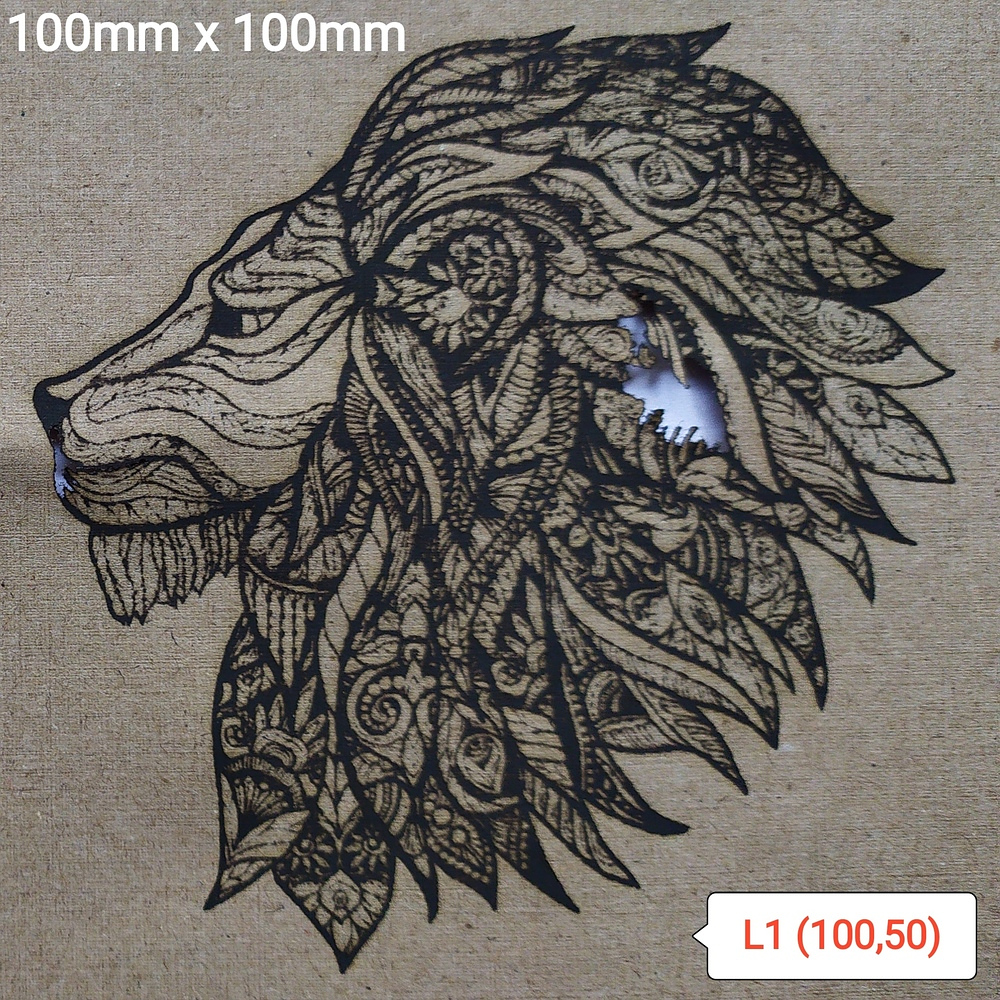
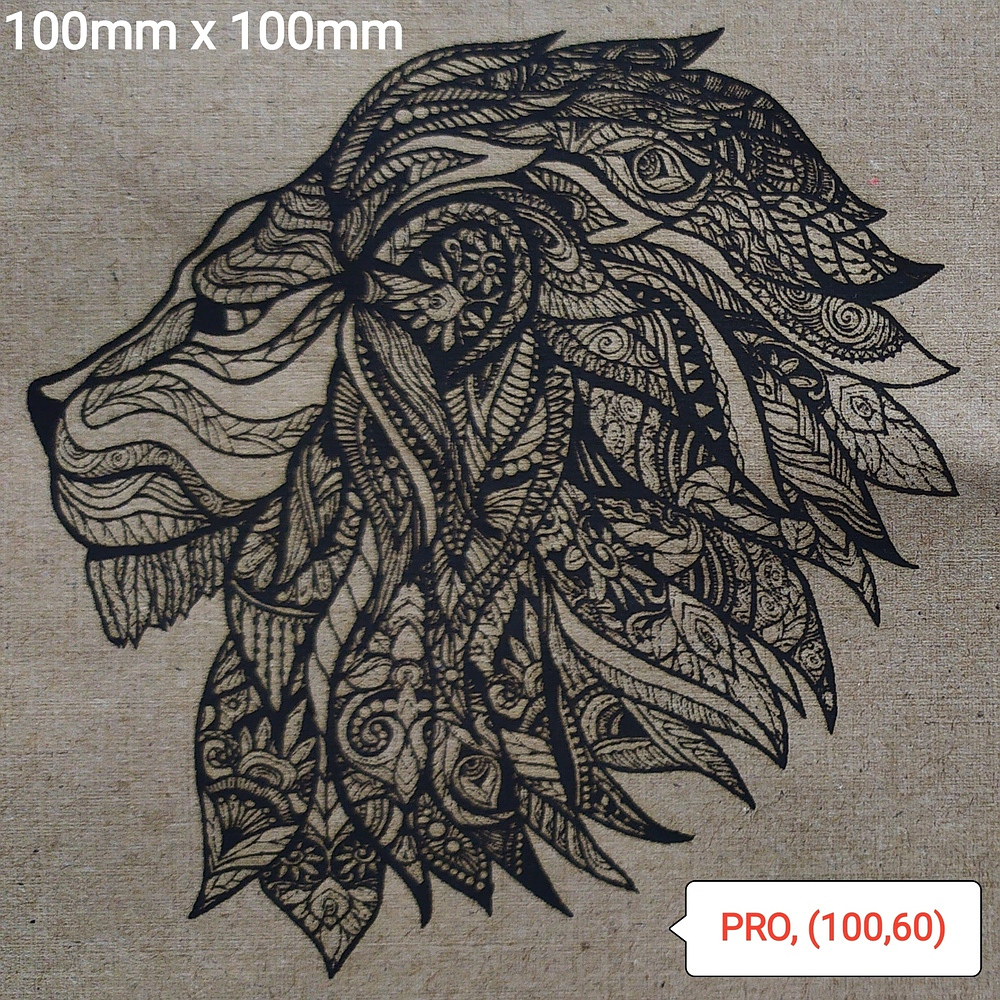
By the numbers, it is obvious that L1’s precision is only 1/4 of what the Pro offers (0.3×0.3mm vs 0.15×0.15mm). Here’s how they compare with a rather extreme test image:
- Unmodified LP1 vs Pro over 100mm x 100mm: L1 was too powerful for the paper I used. It burnt through the paper with (100,50) setting. On the other hand, Pro is less powerful and had much better control over each pixel. The slightly higher setting of (100,60) was just right for the same paper.
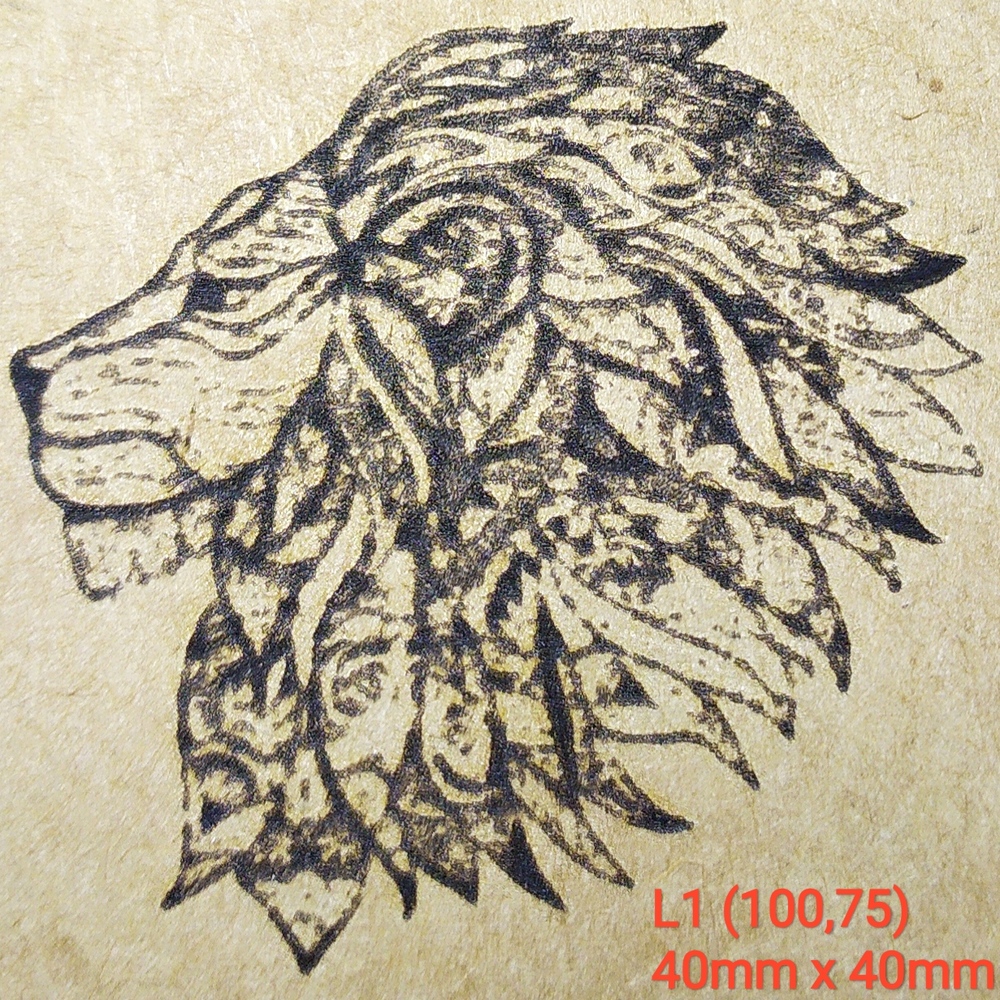
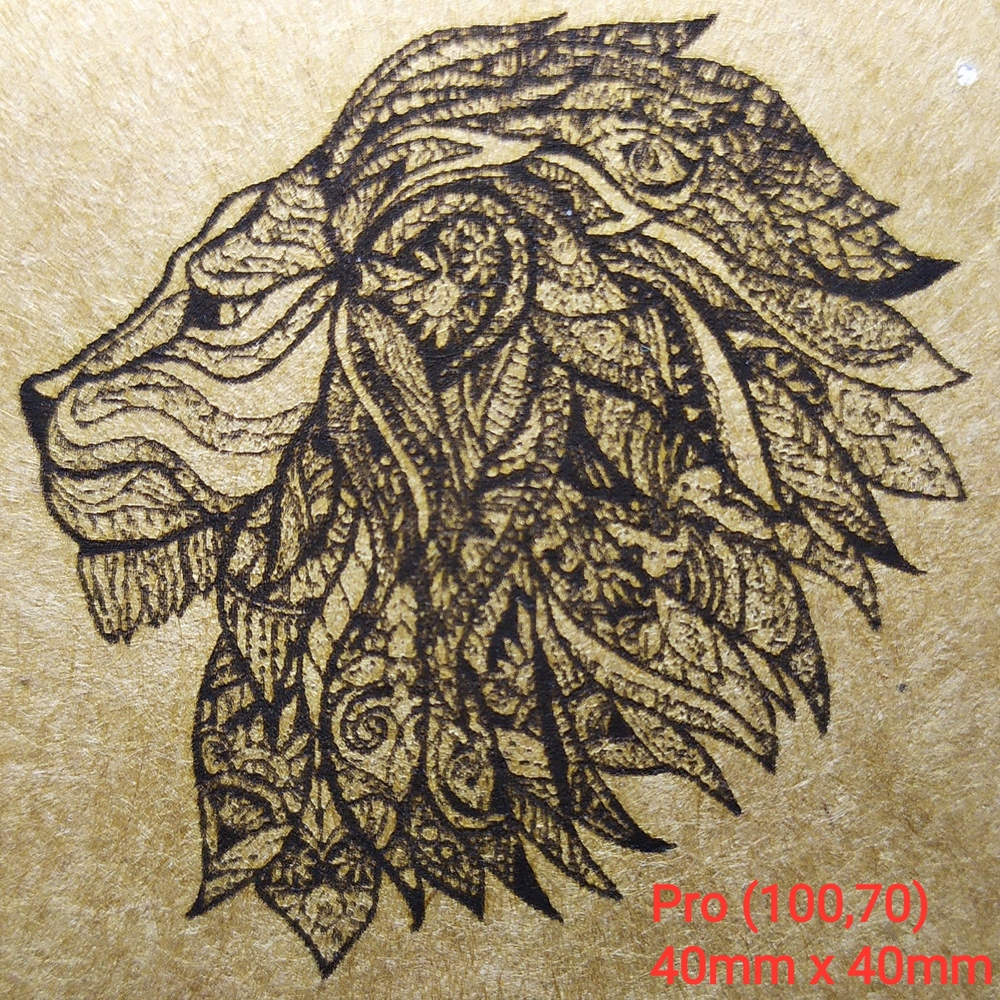
- Unmodified LP1 vs Pro over 40mm x 40mm: here you see the real difference between the two models over a much smaller job.
For your interest, the source image for testing is here (right-click to download the original image):

Now, here’s some exciting stuff to see!
Modified LP1 vs Pro
Note that:
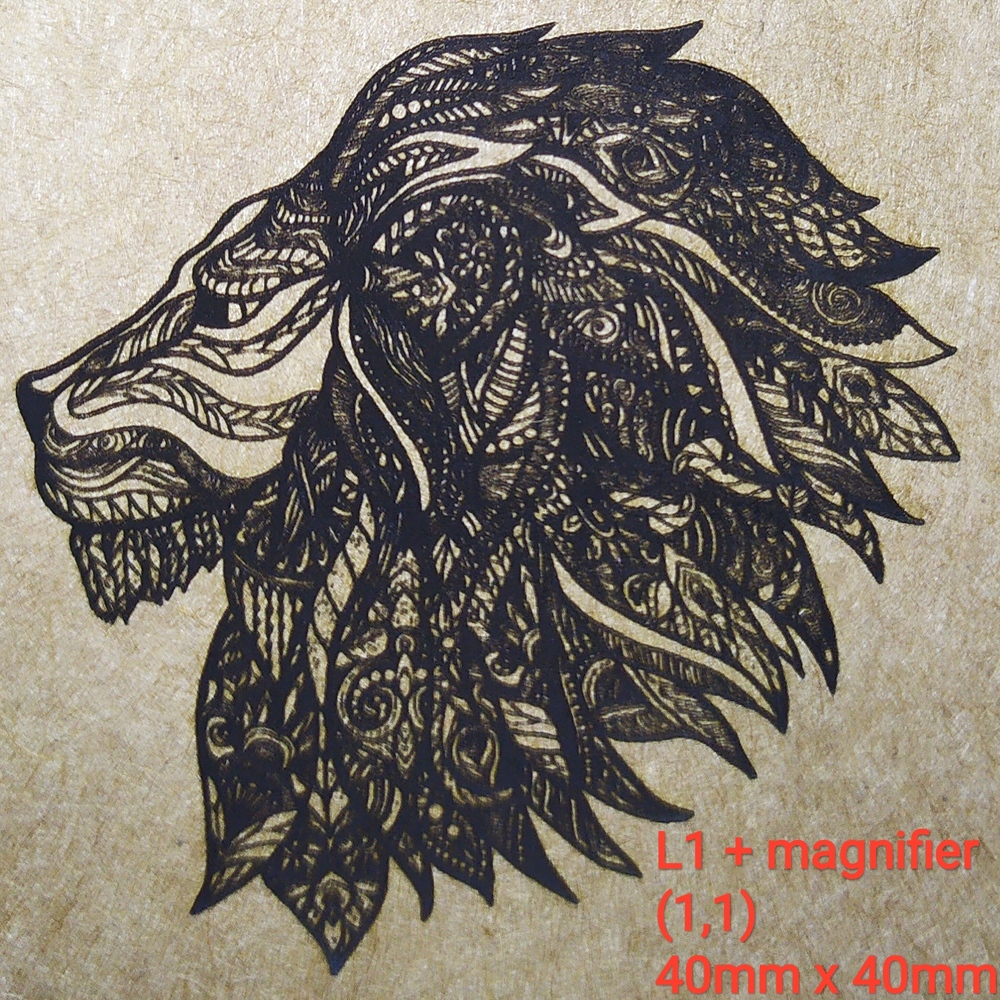
- the output of L1 was set to 100mm x 100mm, and it was scaled down to 40mm x 40mm by the magnifier;
- the engraving setting for L1 with magnifier has to be reduced all the way down to (1,1) to not burn through the thick brown paper, compared to the default setting of (100,70).
Was this helpful?
4 / 0