WARNING
YOU COULD BRICK YOUR LP2 AND VOID YOUR WARRANTY!!
YOU COULD BRICK YOUR LP2 AND VOID YOUR WARRANTY!!
YOU COULD BRICK YOUR LP2 AND VOID YOUR WARRANTY!!
- I am sharing this guide based on my own experience, and I am not responsible for potential damage to your engraver.
- ONLY do this when your engraving is visibly distorted and you are told to do so by LaserPecker tech support. This should be a one-off process and you should not do this often just because you can.
- Do NOT try any other button in the app!
YOU COULD BRICK YOUR LP2 AND VOID YOUR WARRANTY!!
YOU COULD BRICK YOUR LP2 AND VOID YOUR WARRANTY!!
YOU COULD BRICK YOUR LP2 AND VOID YOUR WARRANTY!!
Requirements
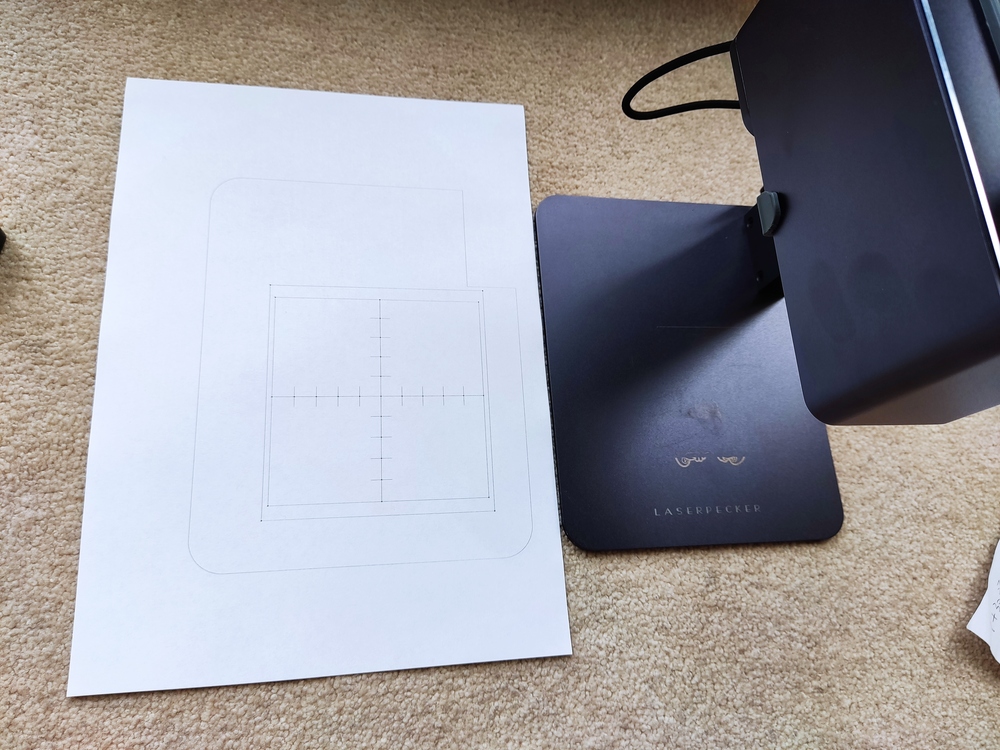
- Print this calibration reference sheet and an A4 paper and cut it along the outline. Ensure the cutout perfectly matches the base of the stand. Otherwise, the scaling is wrong and it will mess up the calibration if you use it.
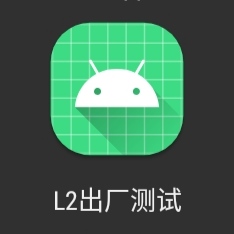
- Use an Android phone, and install the LP2 factory calibration app (apk file). After installation, the app looks like this:
Procedures
Watch the video demo of the whole process before proceeding.
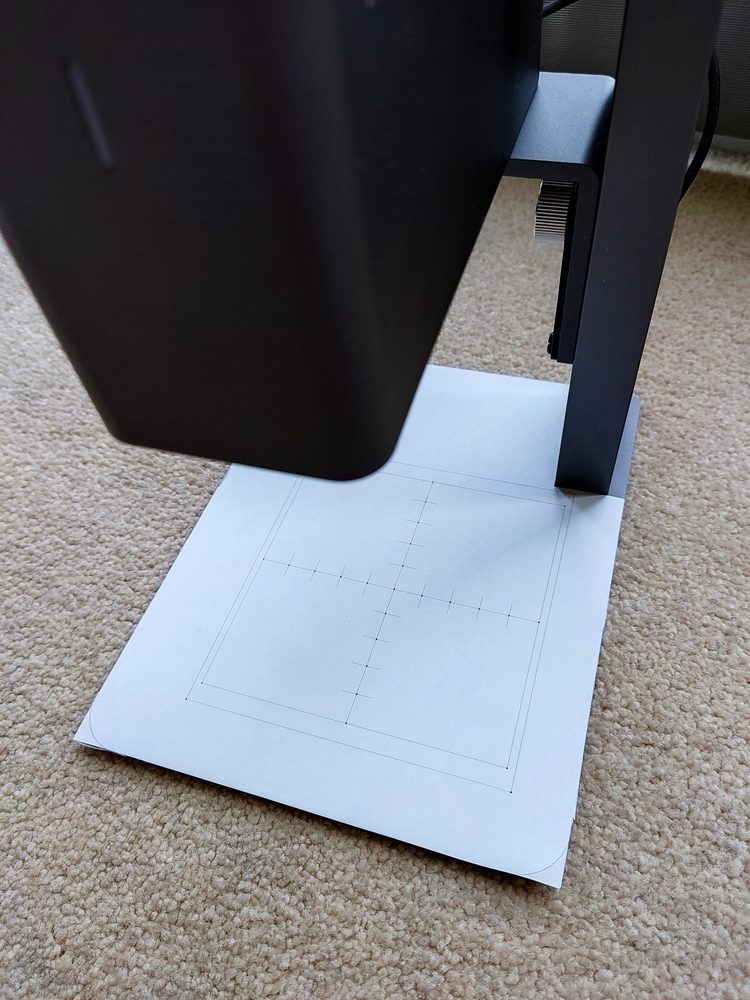
- Place the calibration reference sheet onto the base of the stand. It should match the size of the base plate perfectly, otherwise, your print is in the wrong size.
- Mount your LP2 onto the electric stand, and lower it to the lowest position.
- Launch the factory calibration app. Select L2 on the top and then tap on your LP2 when it is discovered.
- Wait a few seconds until the red text in the middle of the screen become “数据处理完成” (it means “data processed”).
- Tap on any of the direction buttons to light up the laser and start calibration.
- Use the direction buttons to move the laser spot to its closest reference point, then tap on the grey Confirm button. The laser spot then moves to the next calibration point.
- Repeat step 6 until the laser spot returns to the centre and turns off. Now wait for a long beep and the laser lights up again in the centre. It will finally continuously trace the 100x100mm square. This is the end of calibration.
- Power off your LP2 and then power it back up.
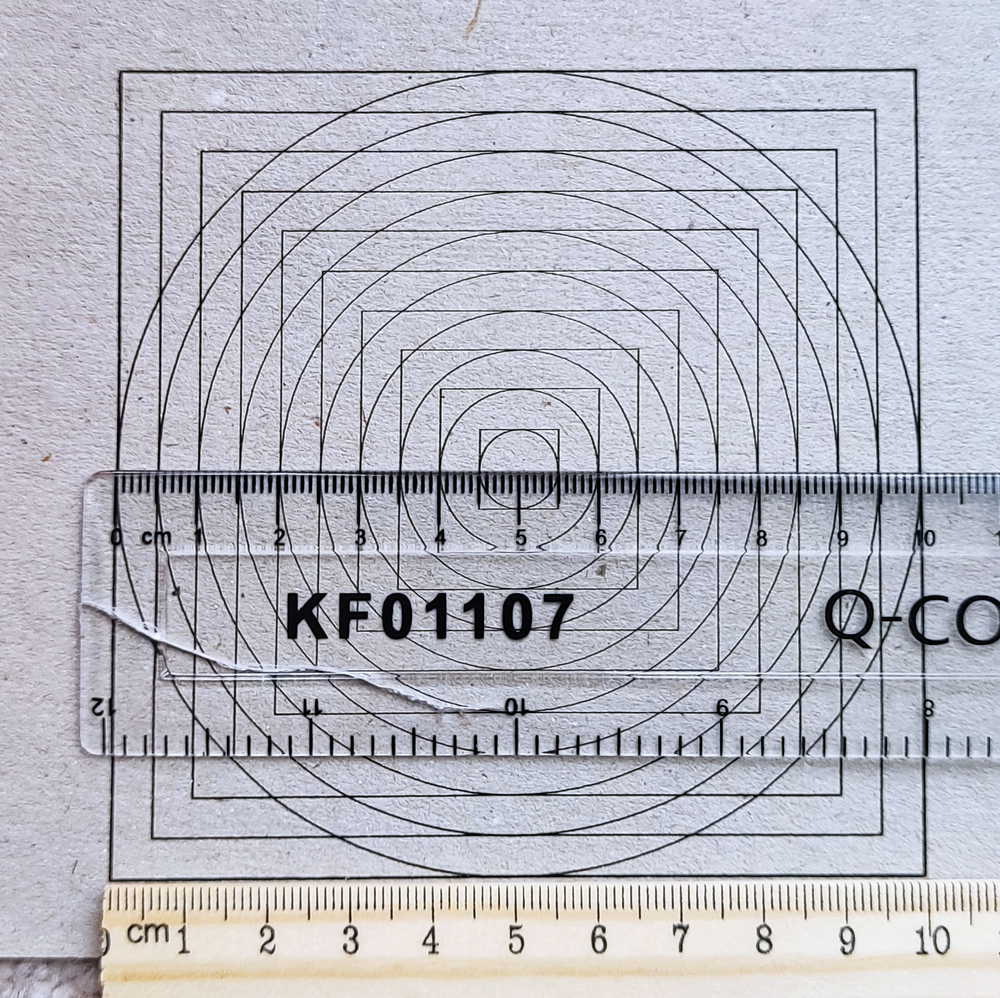
- (Optional) Reconnect to the factory calibration app. Wait about 5 seconds for the initial data transmission. Place a non-white paper under the engraver. Wear your laser goggles. Tap on this “G_code方圆雕刻” button to engrave a squares+circles image on something not white to verify the calibration.

Was this helpful?
4 / 11