WARNING
You will void the warranty of your 3rd axis addon as you disassemble it.
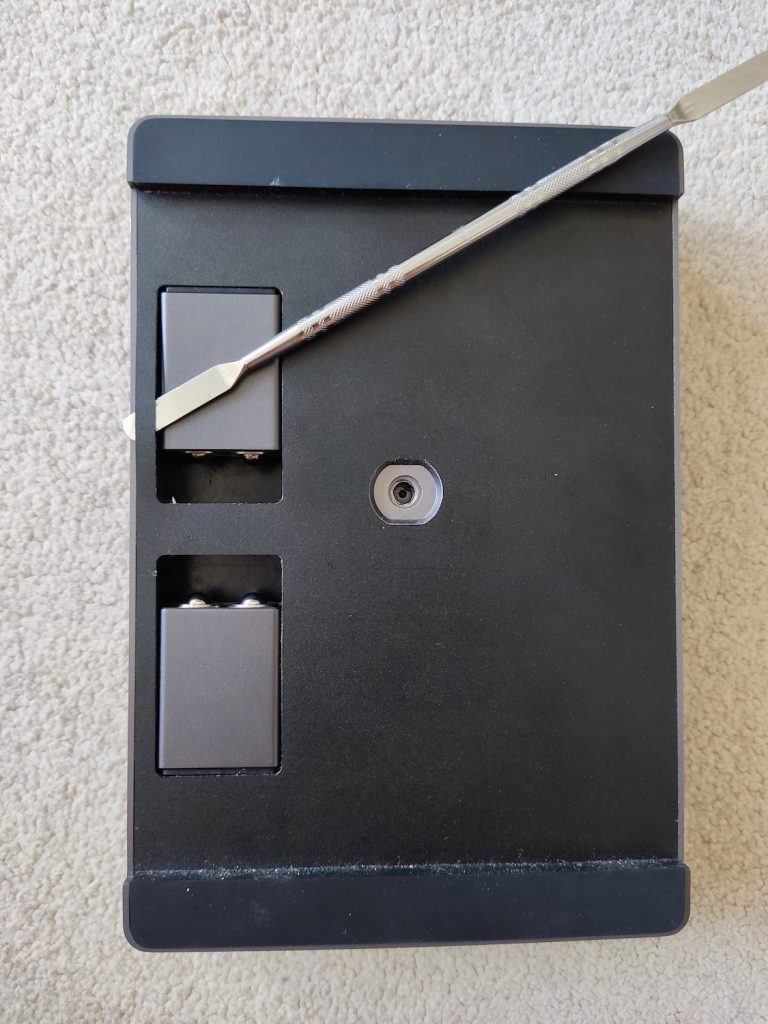
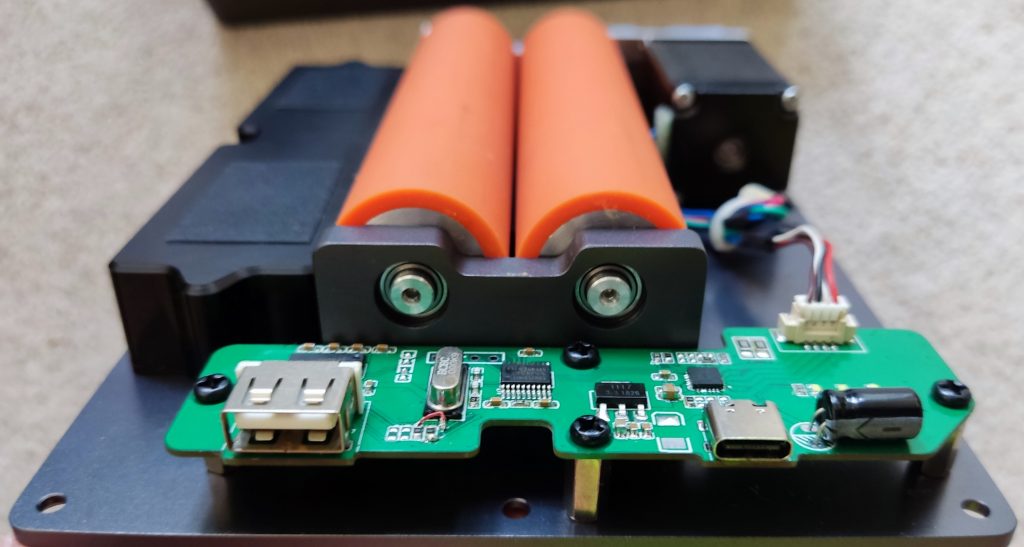
Note that this is a beta testing unit. Yours will look slightly different to this one.
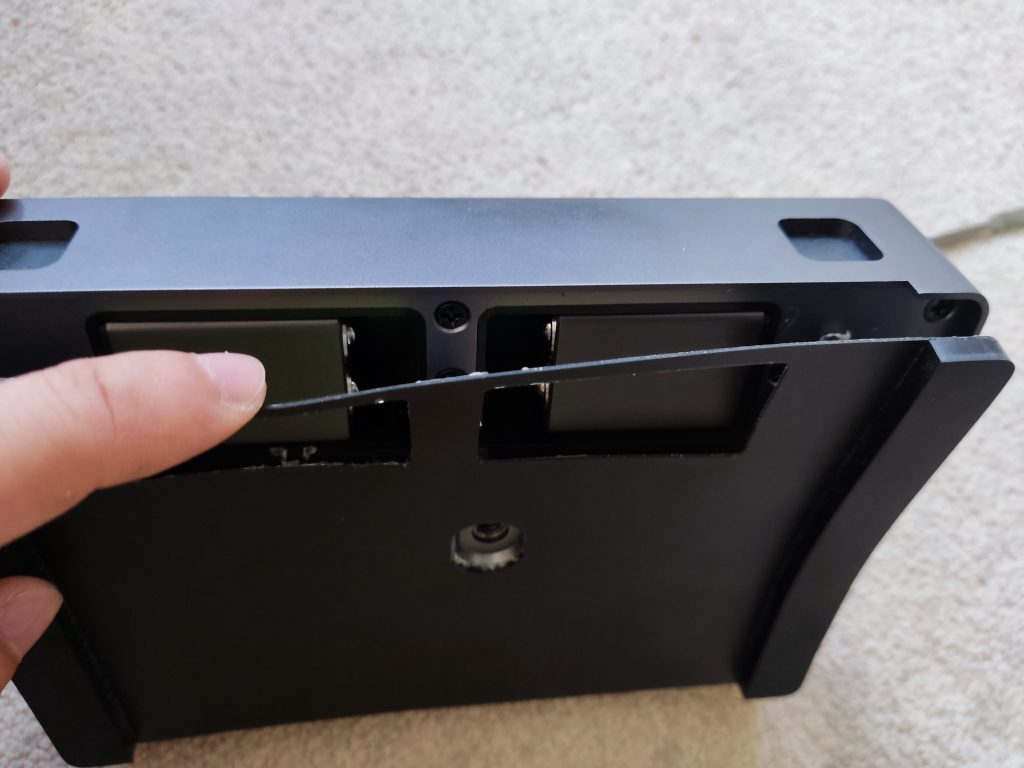
Step 1
Use something thin to separate the thick black plastic sheet from the bottom of the 3rd axis addon. Start from the thinnest part.
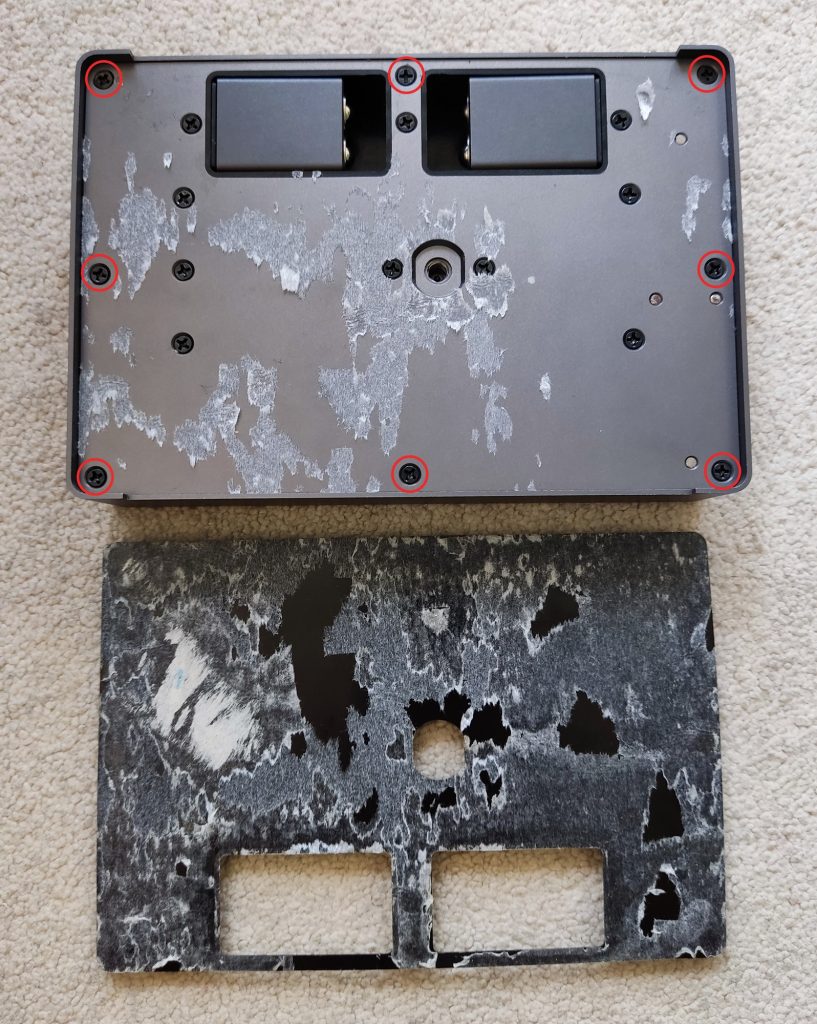
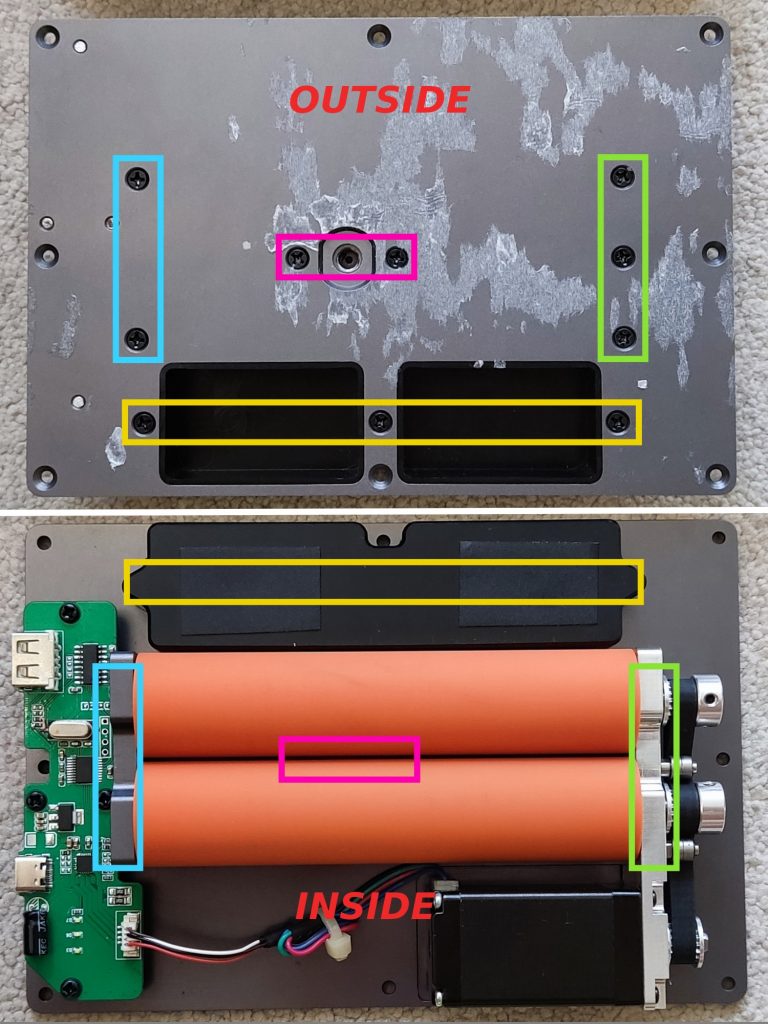
Step 2
Remove these 8 screws so the top cover and the base plate are separated.
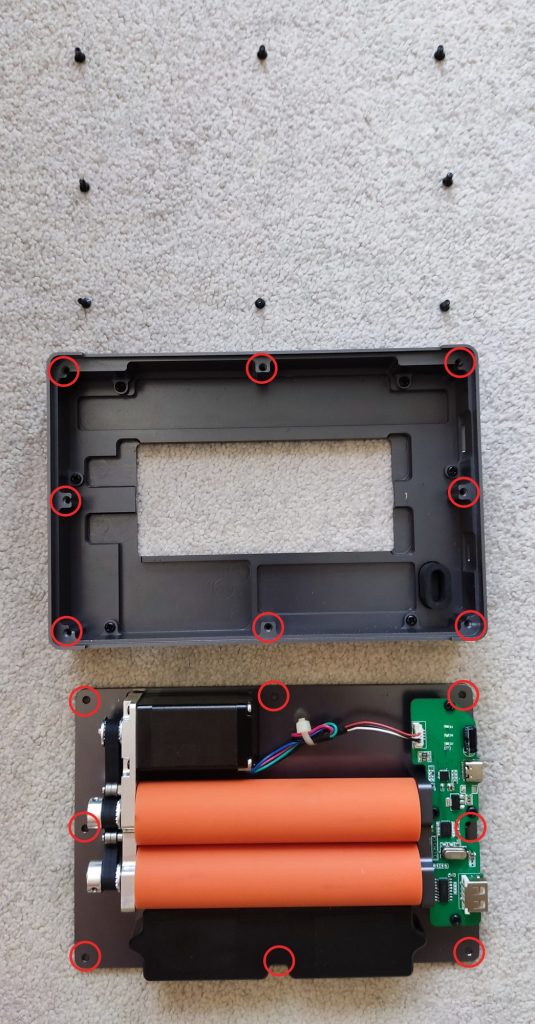
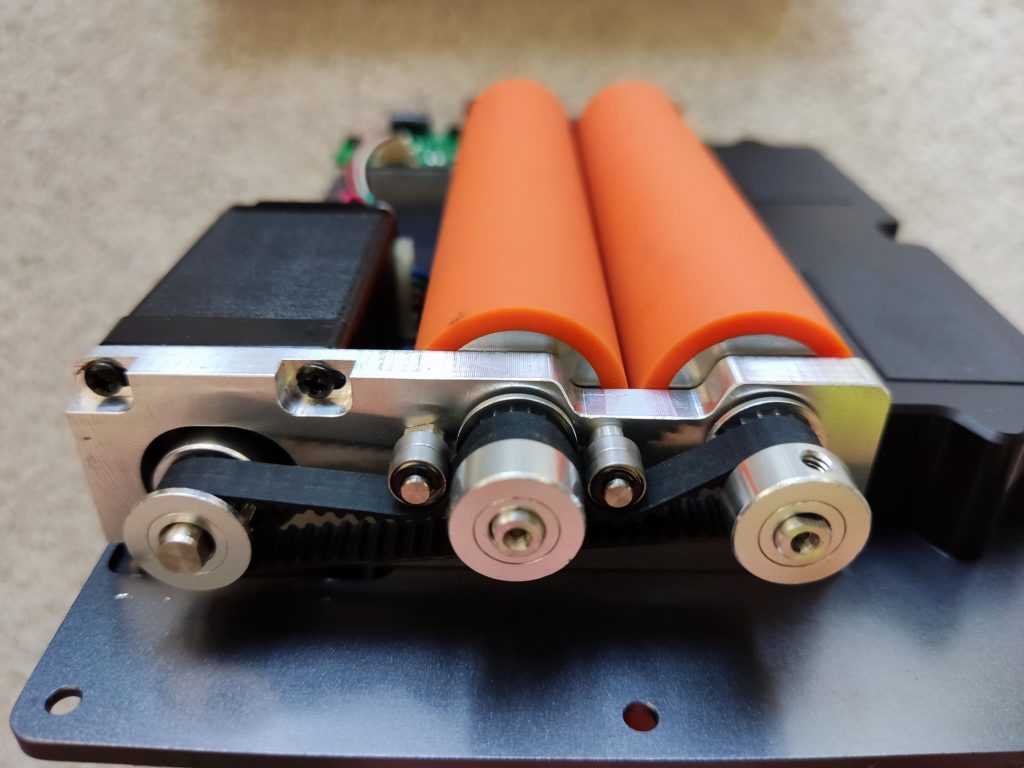
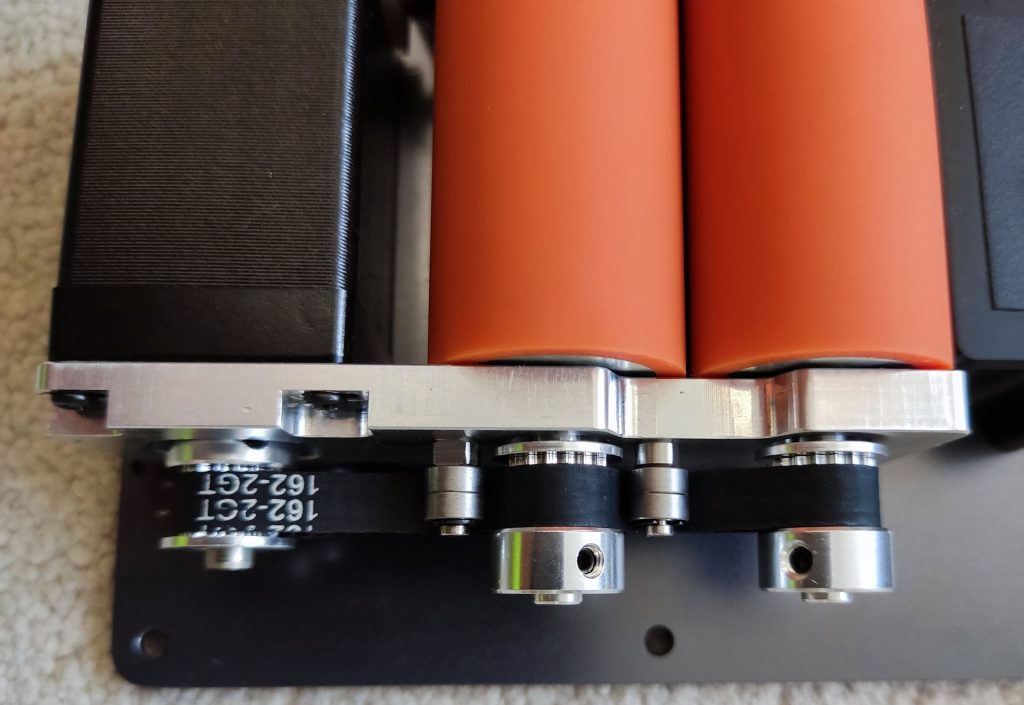
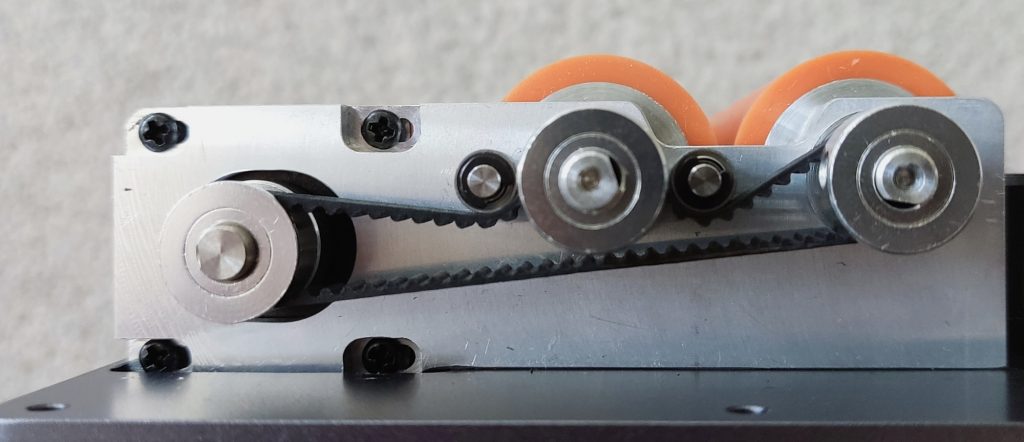
Internals
Screw positions
Was this helpful?
1 / 0