There are 5 modes of image processing for engraving:
Pencil
Converts image to pencil sketch style via edge detection. The converted image is black & white.
G-code
Converts image to vector paths via edge detection, mainly used for cutting or tracing the outlines of patterns. You can add different levels of line-fill in the dark/solid areas of the original image byt sliding the slider dot to the right. Moving to the very right end will give you 100% solid fill. It is not necessarily faster than directly using Bin mode, depending on the complexity of your image.
Try it out to see what works better for you. Note that with L1/Pro, Gcode mode is secretly about 2x powerful than other modes using the same setting. For example, I found that Gcode mode with (70,30) setting produces about the same result as Bin mode with (100,70) setting. So potentially, you can lower the depth in Gcode mode to speed up your job.
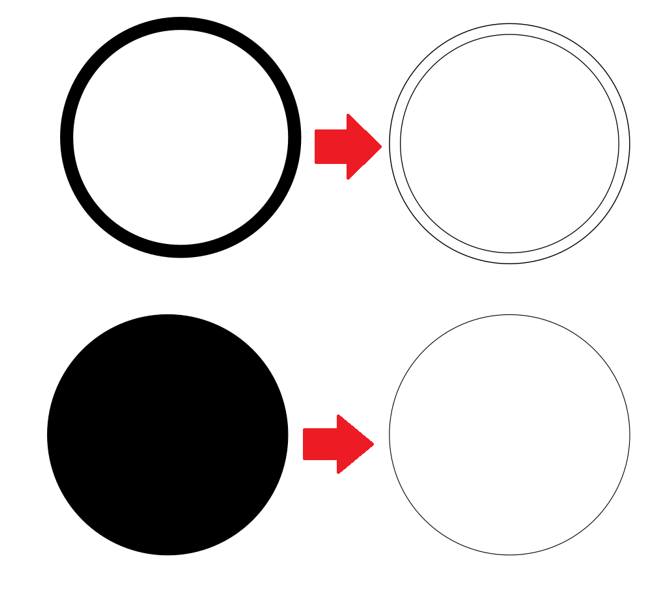
Mind that when converting an image to Gcode, use solid drawings instead of line drawings. Using line drawings, even if the lines are very thin, will result in double lines as illustrated below:
Bin
Binary, i.e. black & white mode. It converts your image to black and white for engraving. Move the slider to adjust the conversion threshold.
Gray (Renamed as Dithering in LP Design Space)
Converts your image to grayscale, and therefore to different levels of power settings per laser pulse. Your image may look nice in the App, but the engraving result is most likely not as good as you expect. The choice of material is very very very important. MDF boards and thick brown paper are pretty good for this. Try it out for yourself. Be warned that engraving grayscale image is very slow compared to other modes, as every pixel is engraved with varying power settings.
Don’t be disappointed if your result misses half of the details. Think of it this way, imagine all the gray pixels in your image are converted to different power levels according to their brightness, let’s say from level 1 to level 10, to achieve 10 levels of brightness of burns, in theory. However, in reality your material does not get burnt up to power level 5; and it gets burnt equally dark from level 9 to 10. So all the pixels that are meant to be burnt with power level 1 to 5 won’t show. And all the pixels burnt with power 9 and 10 become indistinguishable. As a result, the 10-level grayscale image becomes 4-level only (level 6, 7, 8, 9+10). This is a common challenge in laser engraving. And the solution is to dither your image (i.e. to use different densities of black & white pixes to emulate grayscale) and use Bin mode to engrave it. See Dithering for more details.
[Dec/2021 update]: From Android app v3.73 (iOS app version unknown), LP has listened to the community and added built-in dithering feature for LP2 and LP3, which is amazing! (It does not work well with L1/L1 Pro, so this feature is not available to the 1st gen models.) Please also make sure you update LP2’s firmware to v3.0.9 or higher, which is required for the new dithering option to appear, and this firmware also contains an improvement that significantly speeds up Gray mode engraving.
Seal (Renamed as Stamp in LP Design Space)
Inverts your desired image/pattern for making stamps. To be used with photosensitive stamps.
The Creation mode is being actively developed. It now supports custom fonts. Note that if you set your texts to hollow style, they will be engraved with Gcode mode. i.e. the laser will trace each character’s outline rather than scanning through line by line.
Was this helpful?
22 / 1